Installing vShpere 8.0
The first thing we’re going to do is create a vSphere VM. I’m using VMware Workstation Pro, but you should be able to use any other hypervisor like VirtualBox or Hyper-V. Make sure you’re giving the VM ample RAM and CPU cores. ESXi requires at least 8 GBs of RAM and two CPU cores. My laptop I’m running this on has 16 GBs of RAM, so I’ll give the VM half of that. I’ll also give it 4 out of the 8 cores my CPU has. If you want, you can also add another hard drive right now to create a datastore with. You can also add it later like I did because I forgot.
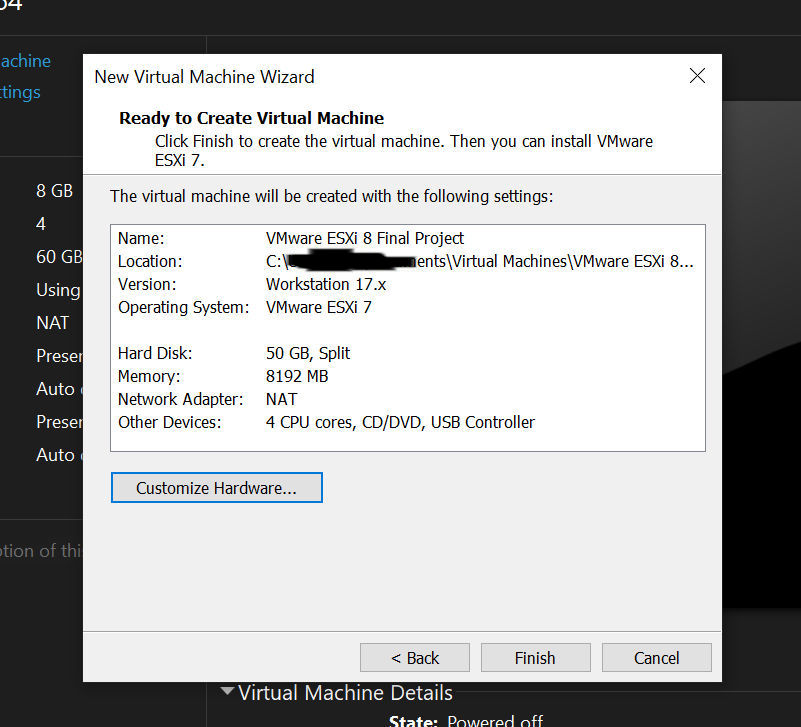
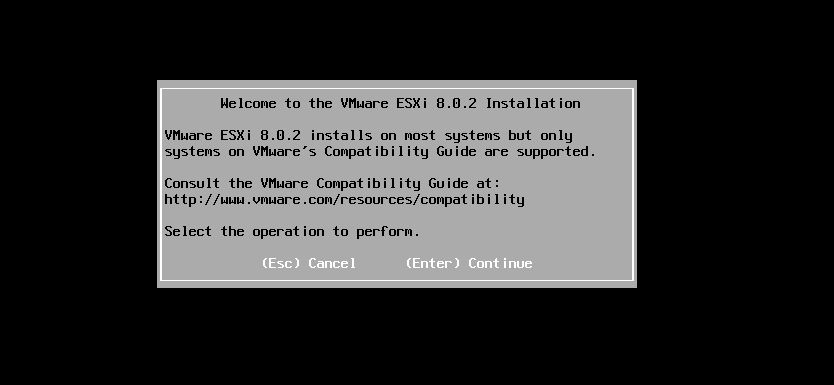
Power on the VM to get to the ESXi installer. When it boots, you’ll see a welcome screen, press enter to continue. Next you go through selecting the disc you want to install it on, creating a password for the root account, and accepting the license. Once you’re done with that, you’ll get to a screen asking you if you want to install, press f11 to continue.
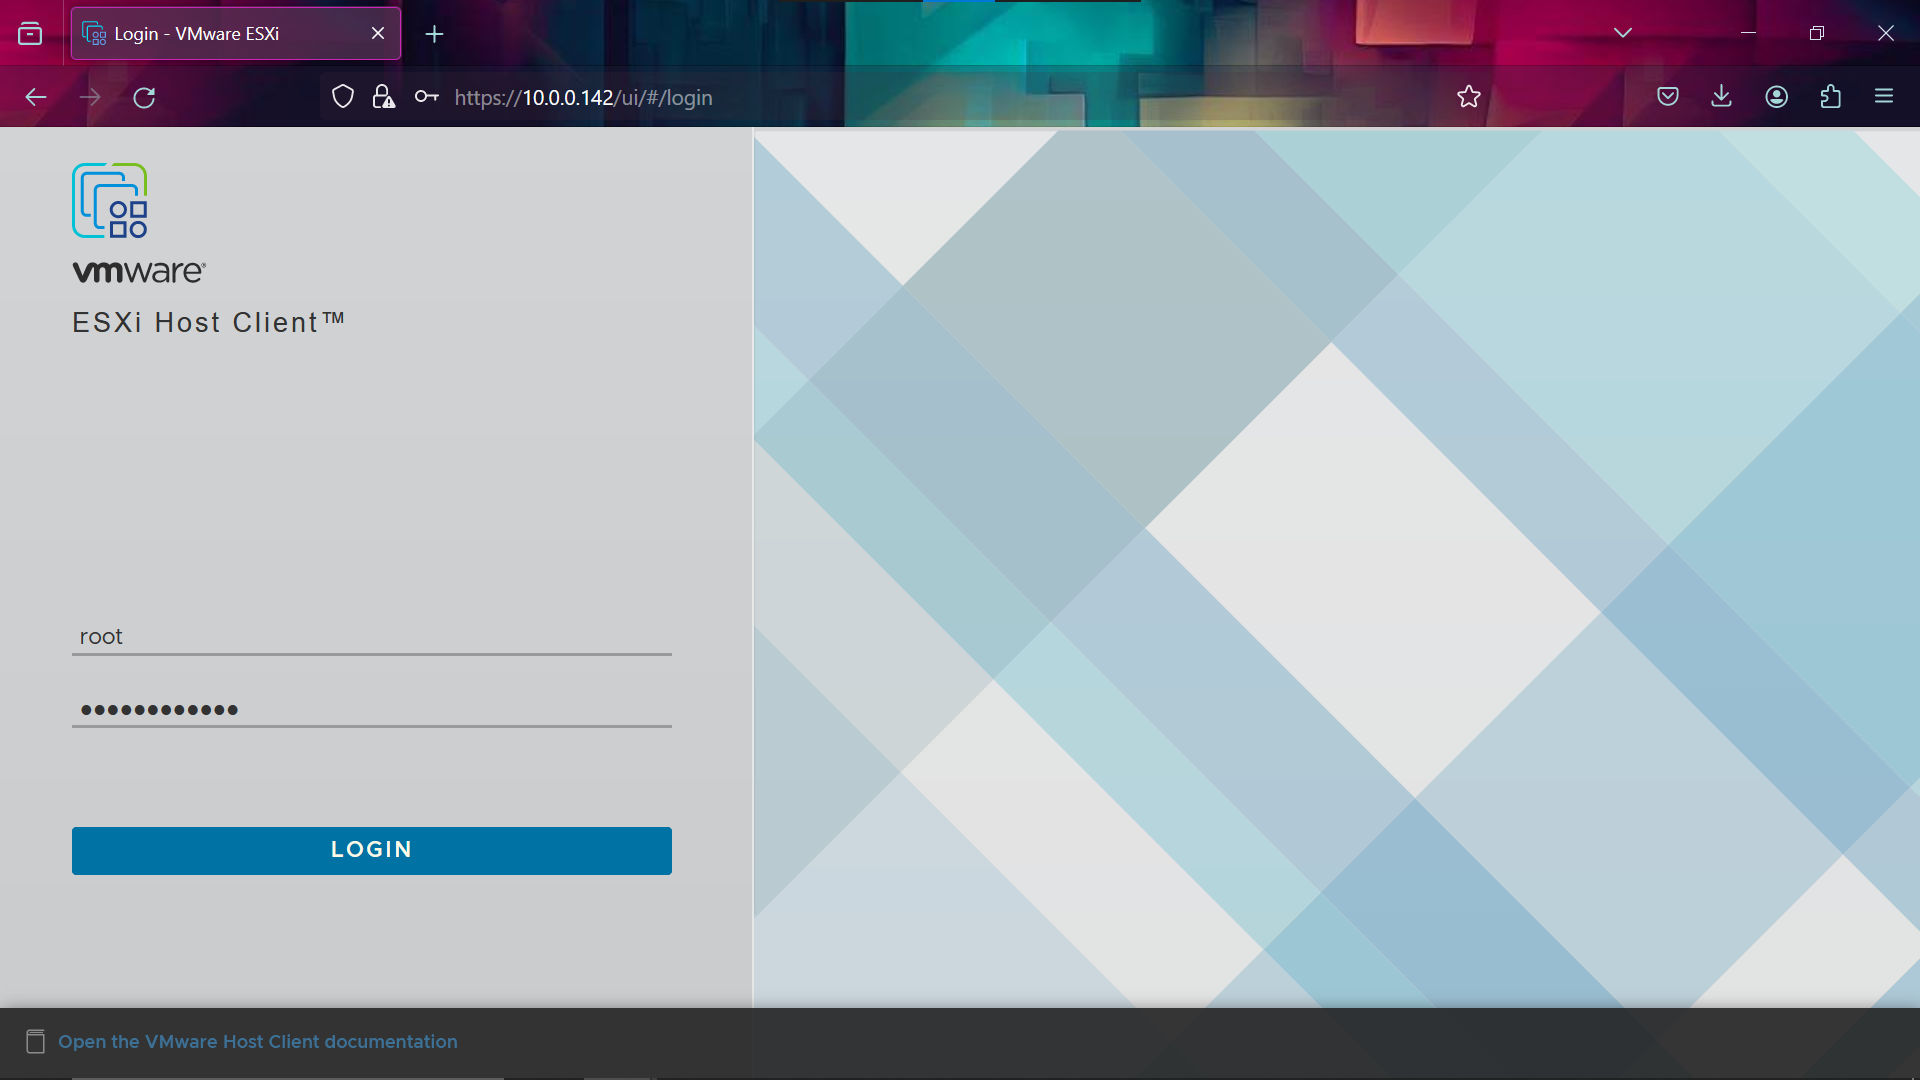
After it installs and reboots you find the IP address it gives you. Going to the IP address in your web browser will allow you to use the web GUI to manage it.

Your browser might give you a warning saying the site is unsecure. This warning is okay to ignore.
Log in with the password you chose when you were installing it.
Creating a Datastore
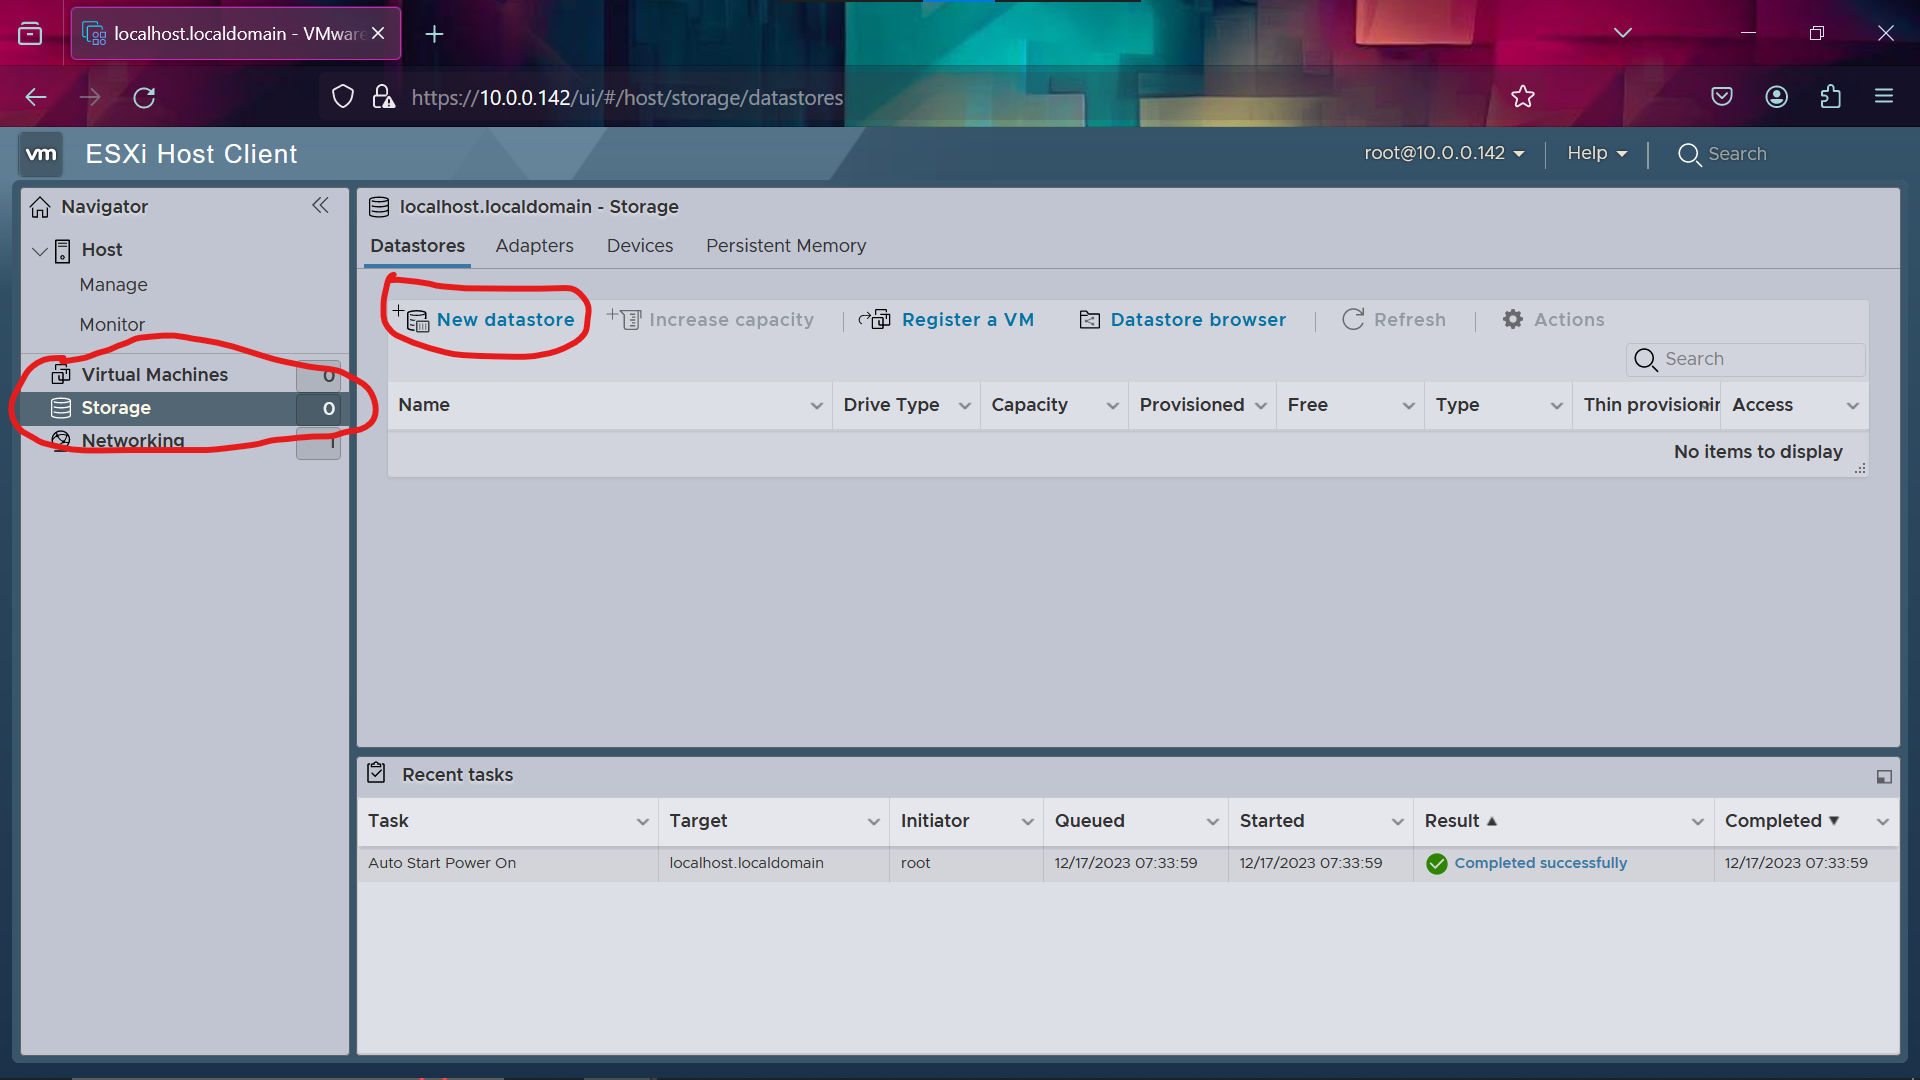
Now you’ll need to create a datastore to hold .iso and virtual machine files. Locate the storage button on the left side panel and click New datastore.
In the wizard, select Create New VMFS Datastore. Next, select the disk you’re going to use.
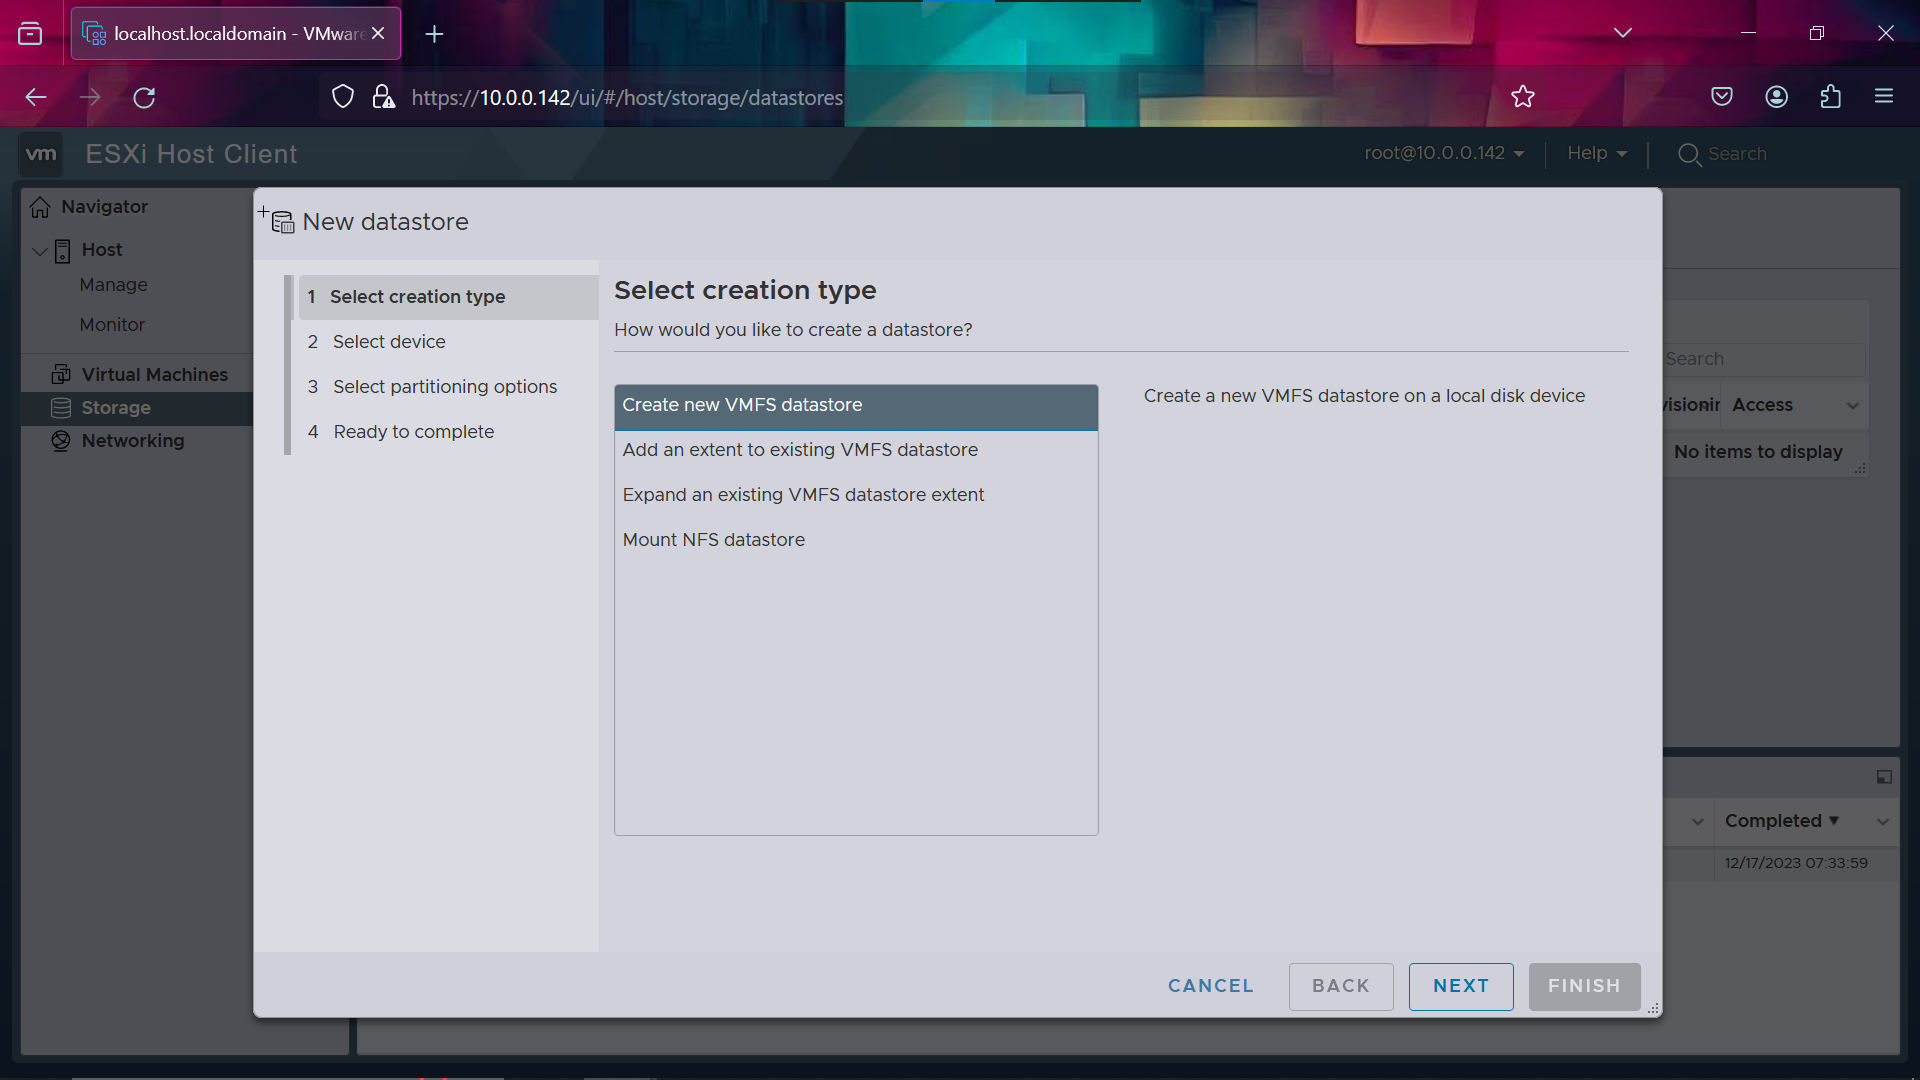
Use the default settings for repartitioning the drive and hit finish.
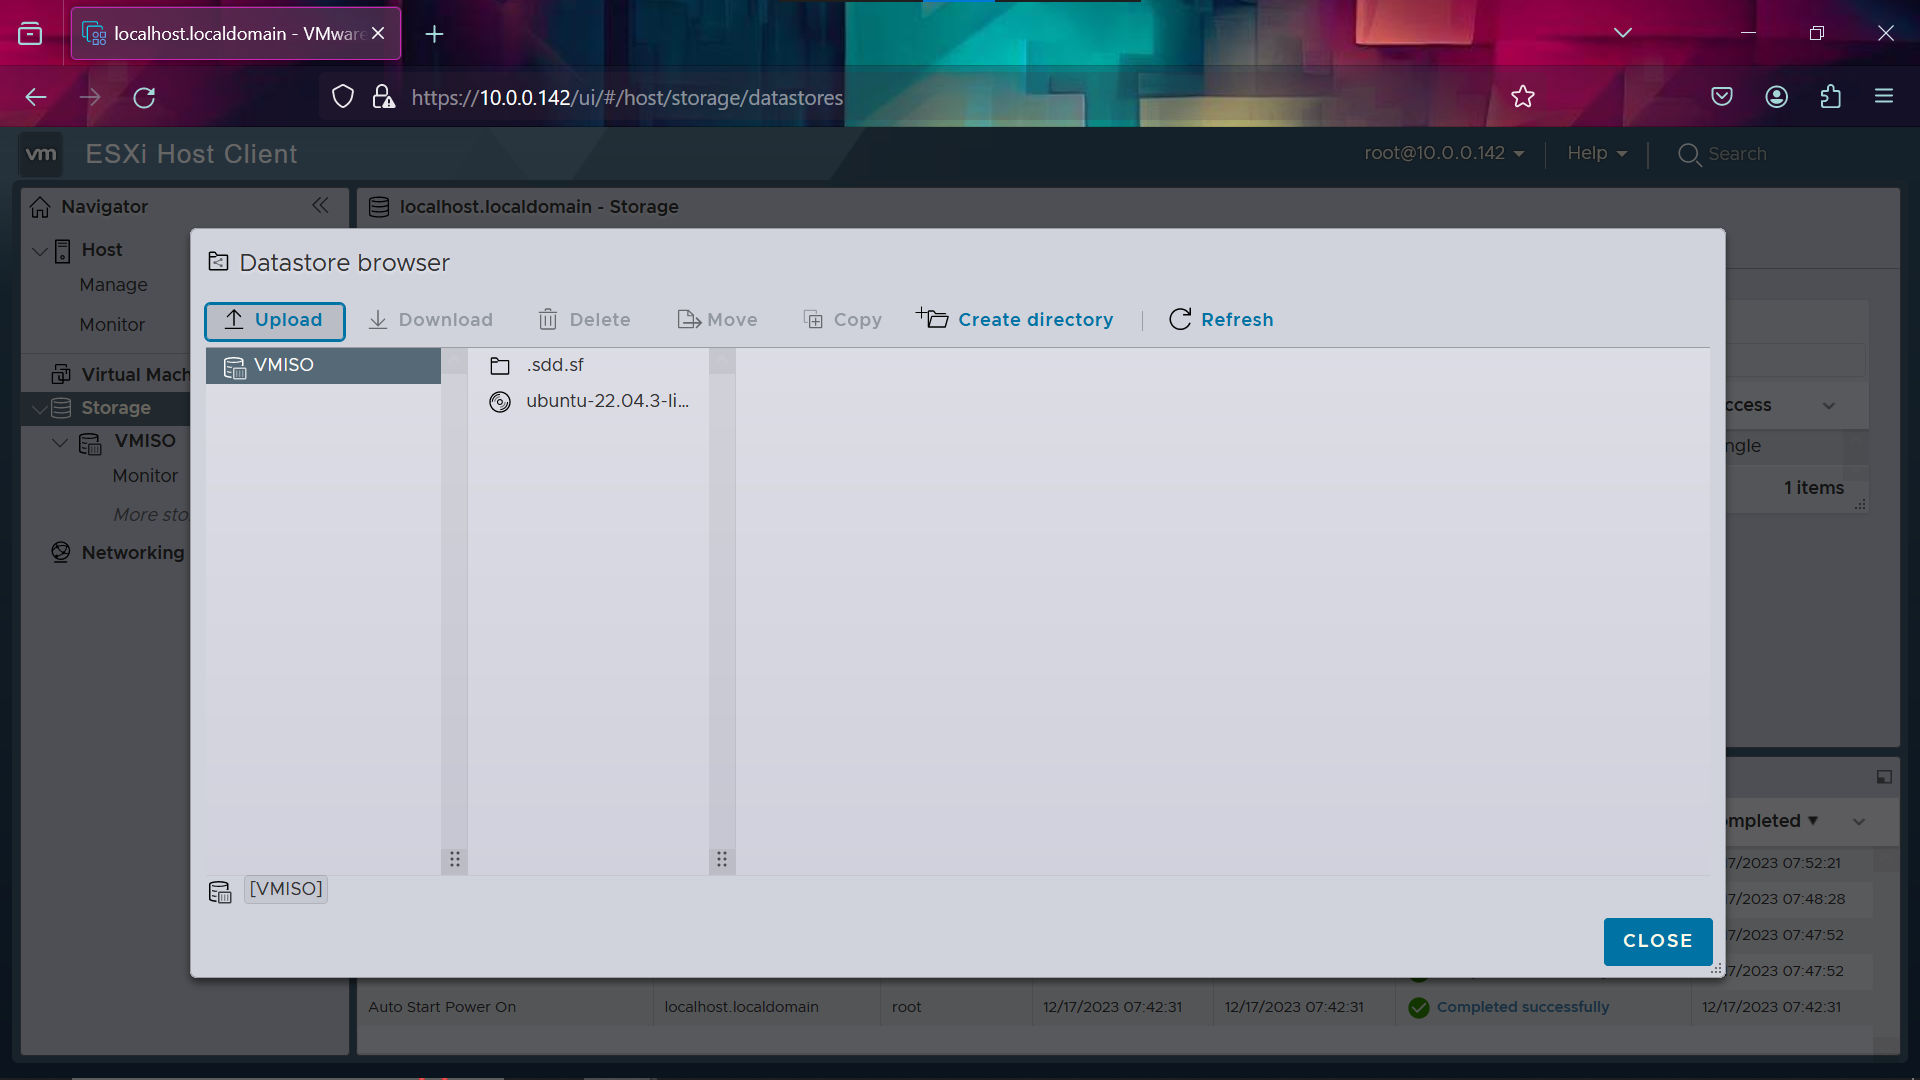
We need an .iso file to install the operating system on the VM we’re going to create. To upload one to the datastore click on the Datastore Browser button then click the Upload button.
Creating a Virtual Machine
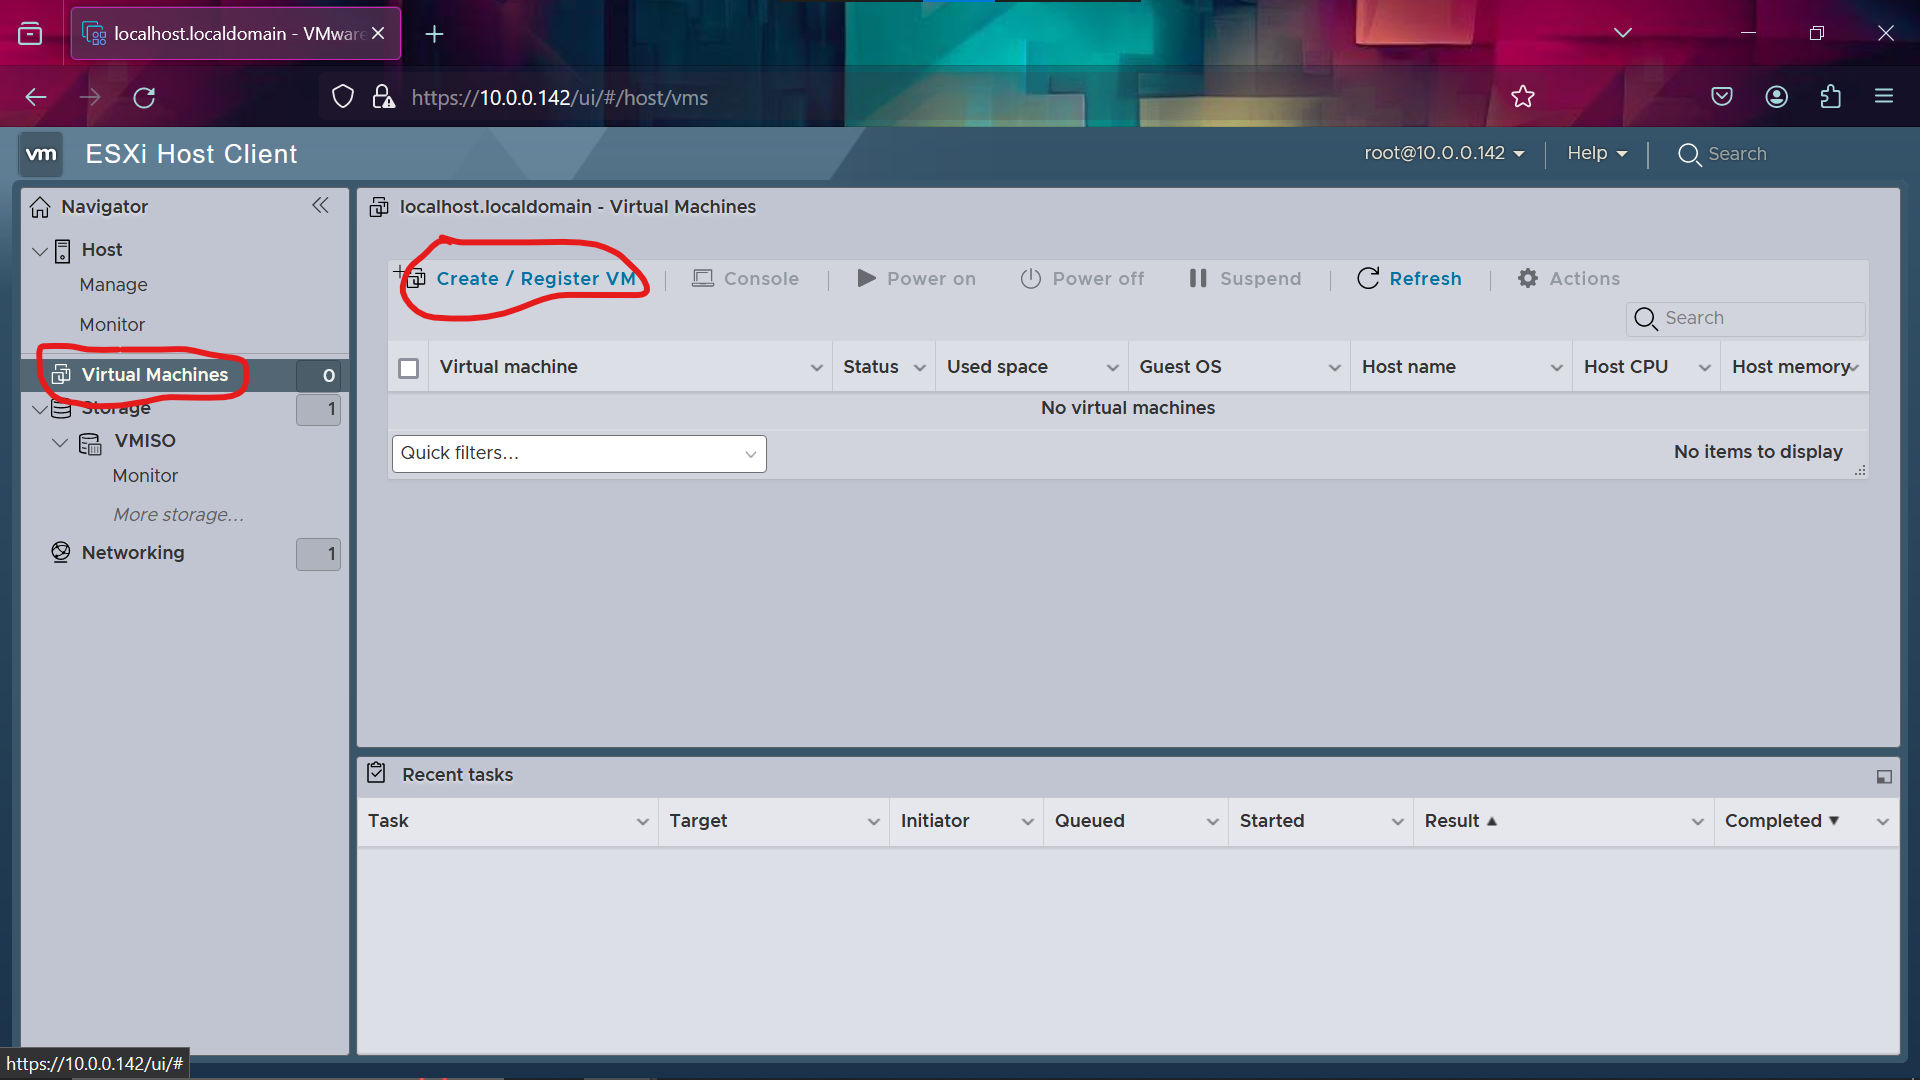
Now click on the Virtual Machines button on the same panel as the storage button. Click on the Create / Register VM button to open the creation wizard.
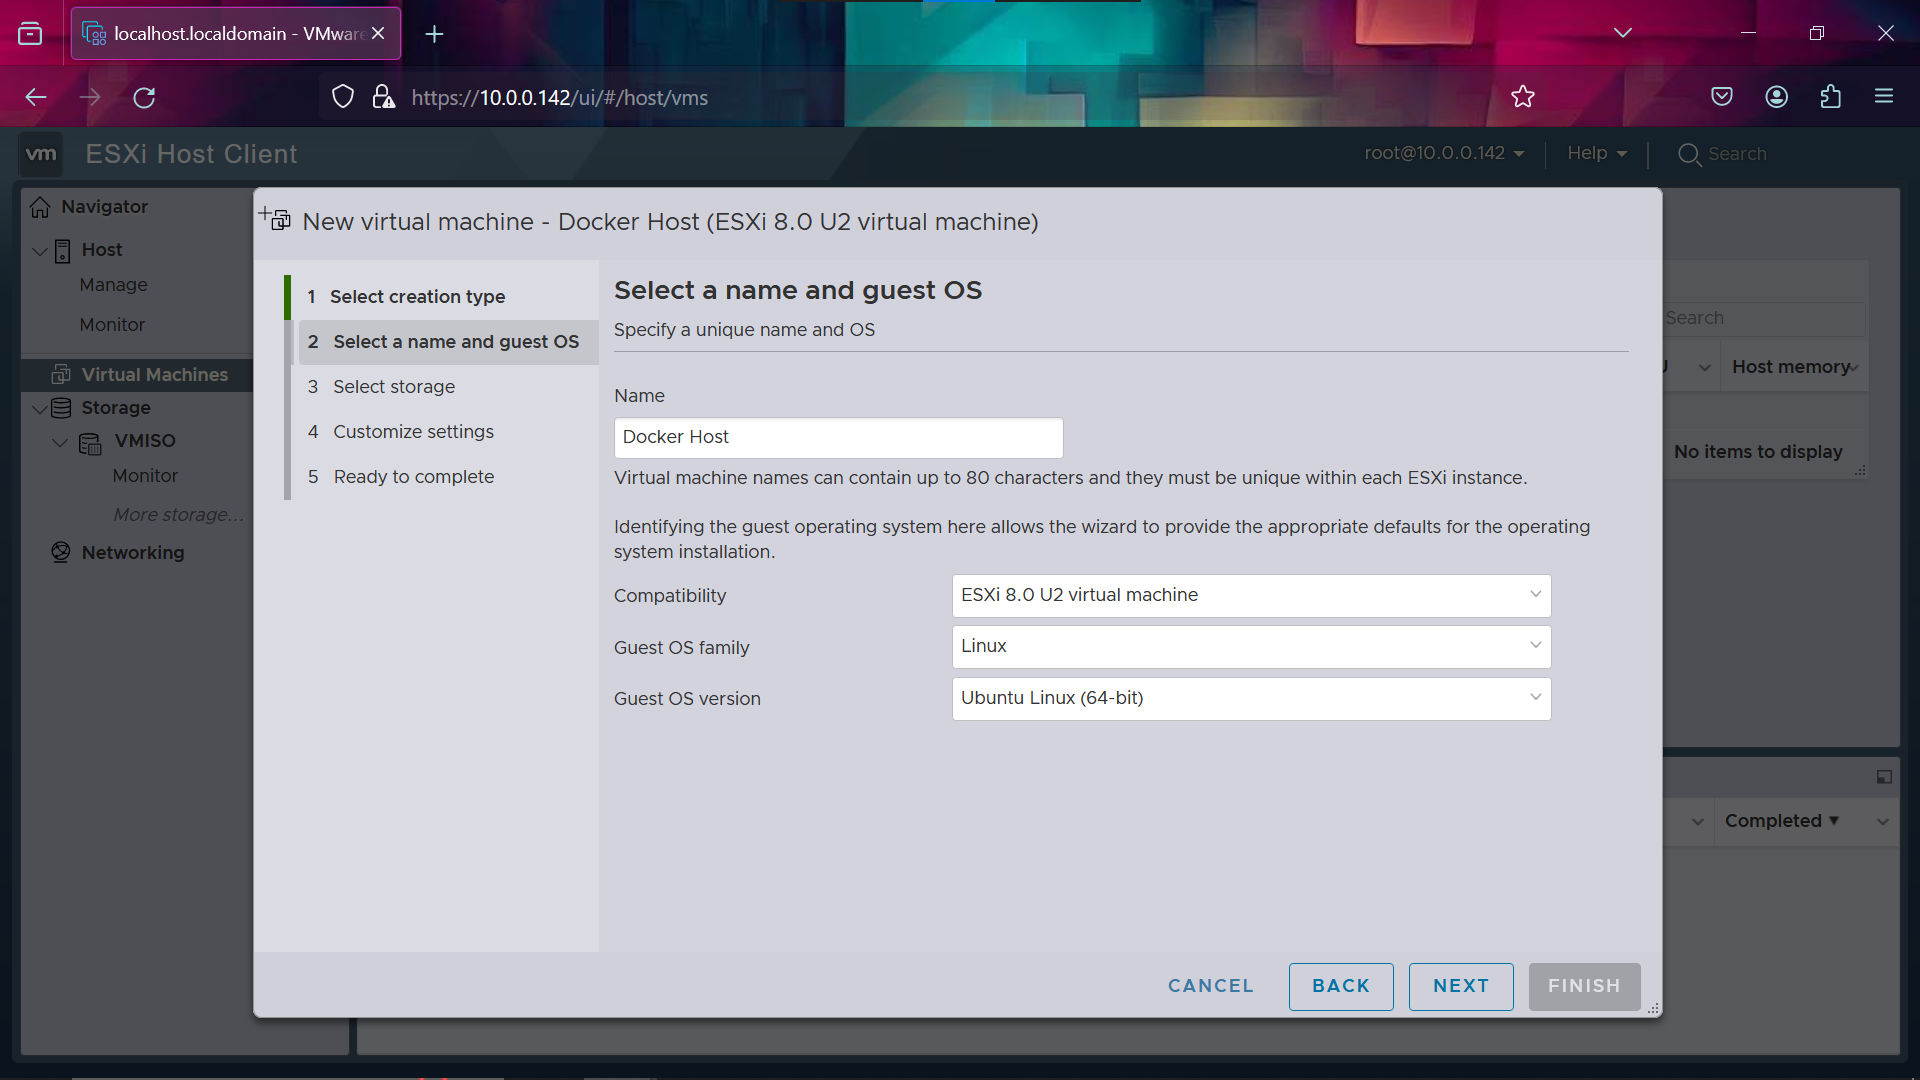
Select Create a new virtual machine and hit next. Give the VM a name and select the operating system family and type.
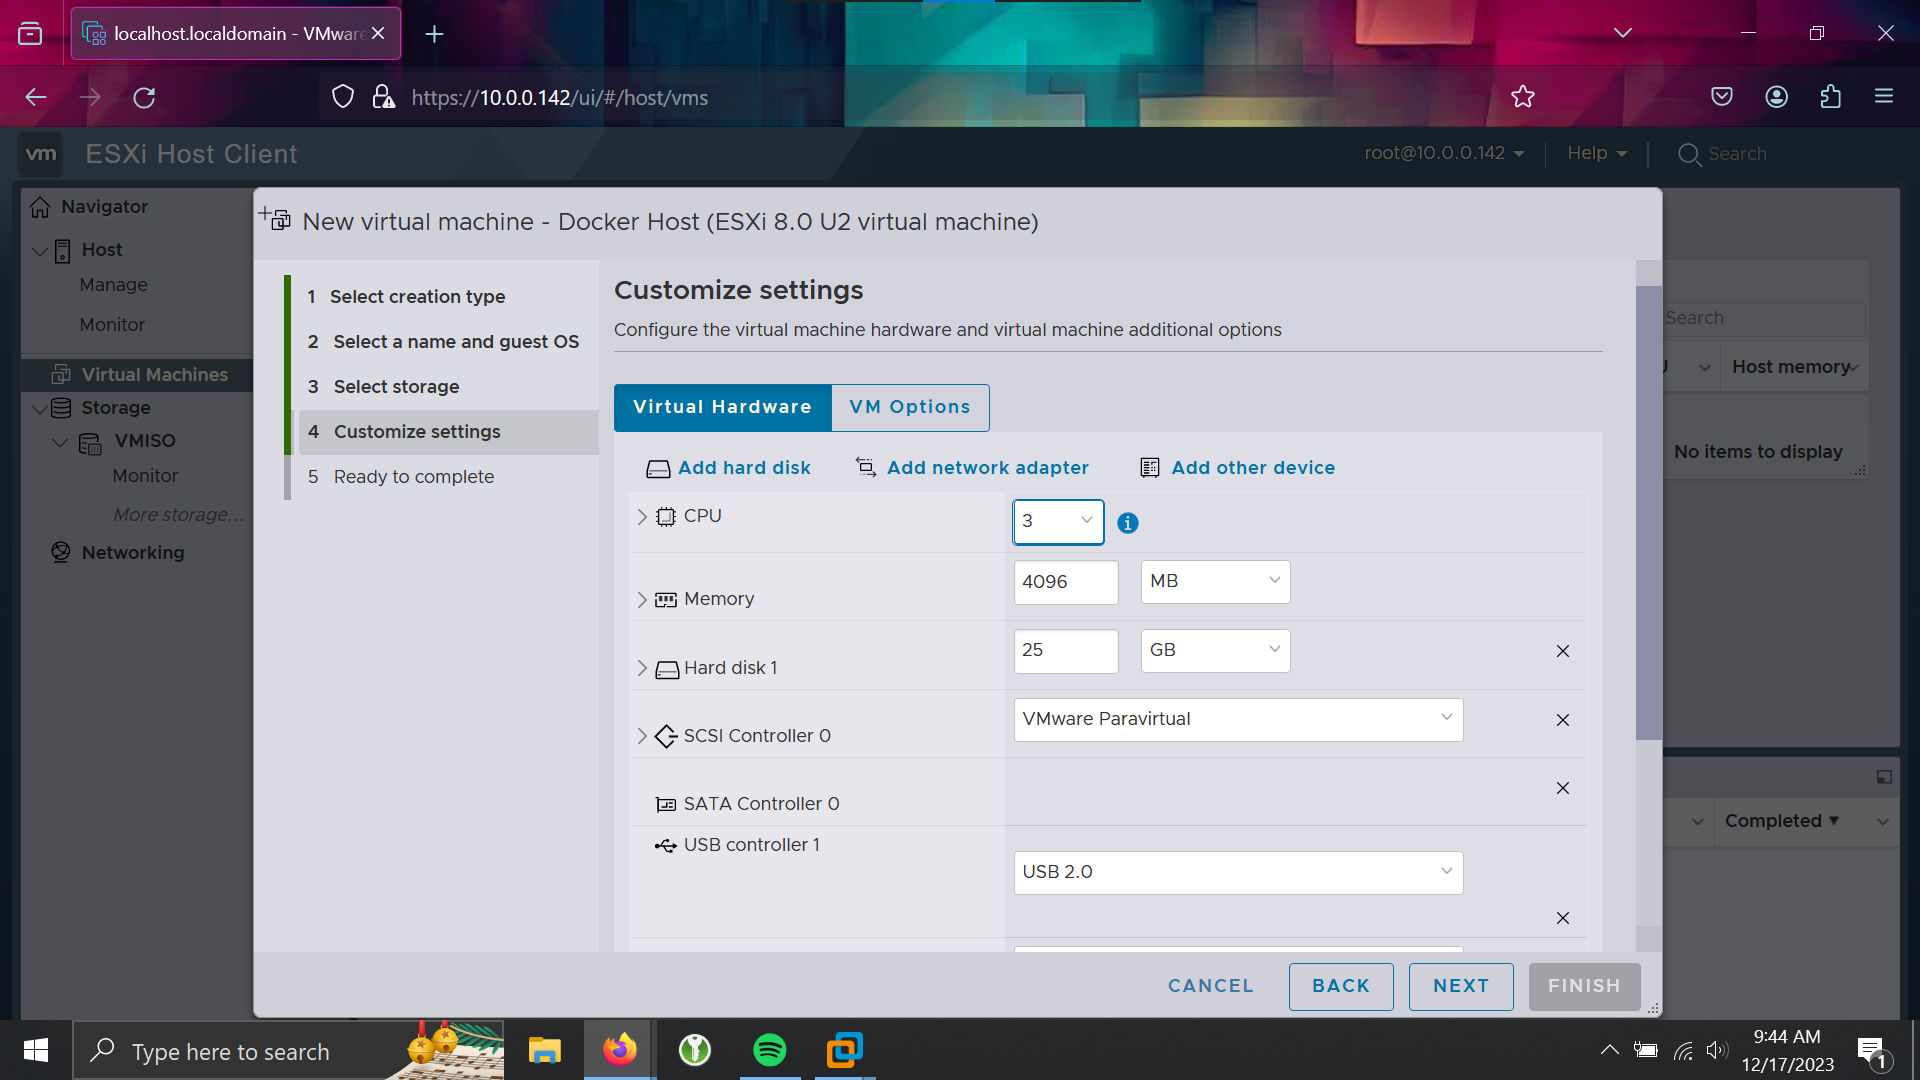
Now select the datastore you created and hit next. I’m going to give my VM 3 CPU cores and 4 GBs of ram.
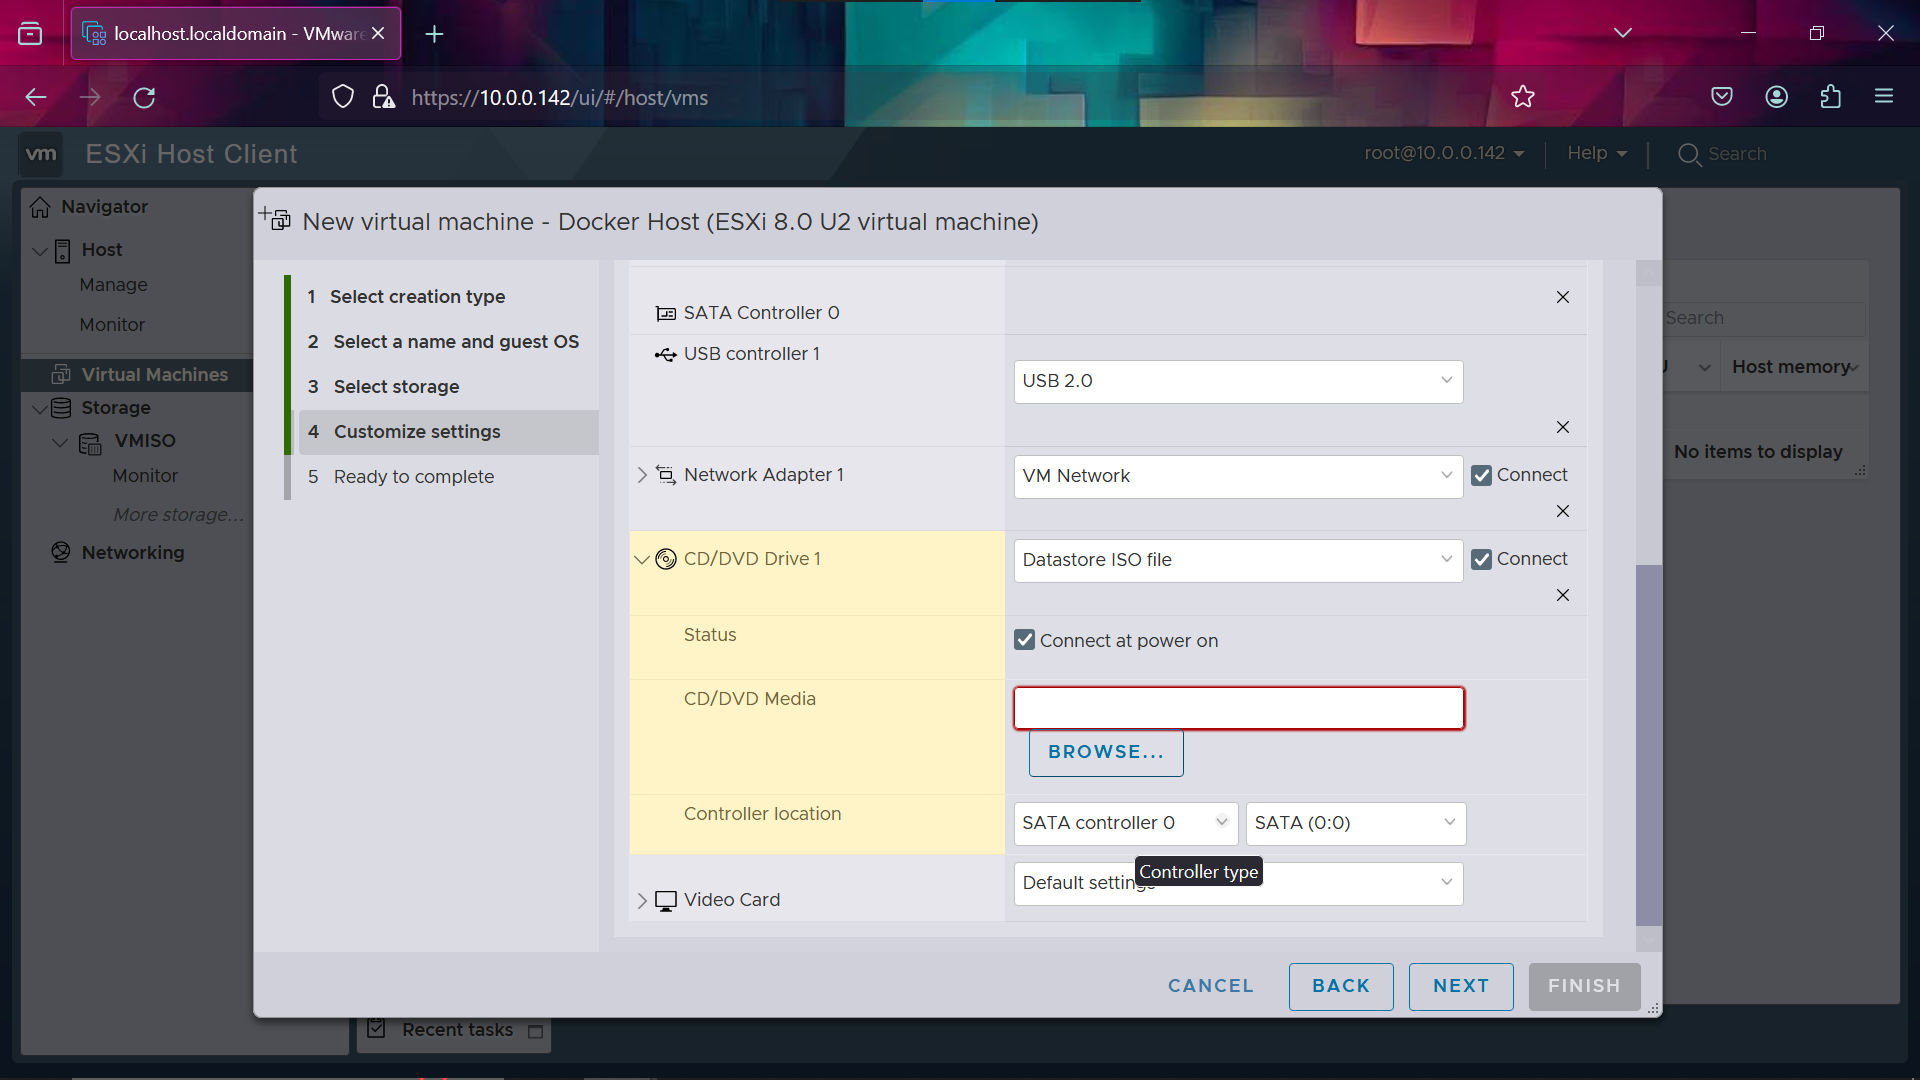
Now scroll down a little and find the CD drive options. Select Datastore ISO file, check the box next to Connect at power on, and hit the browse button.
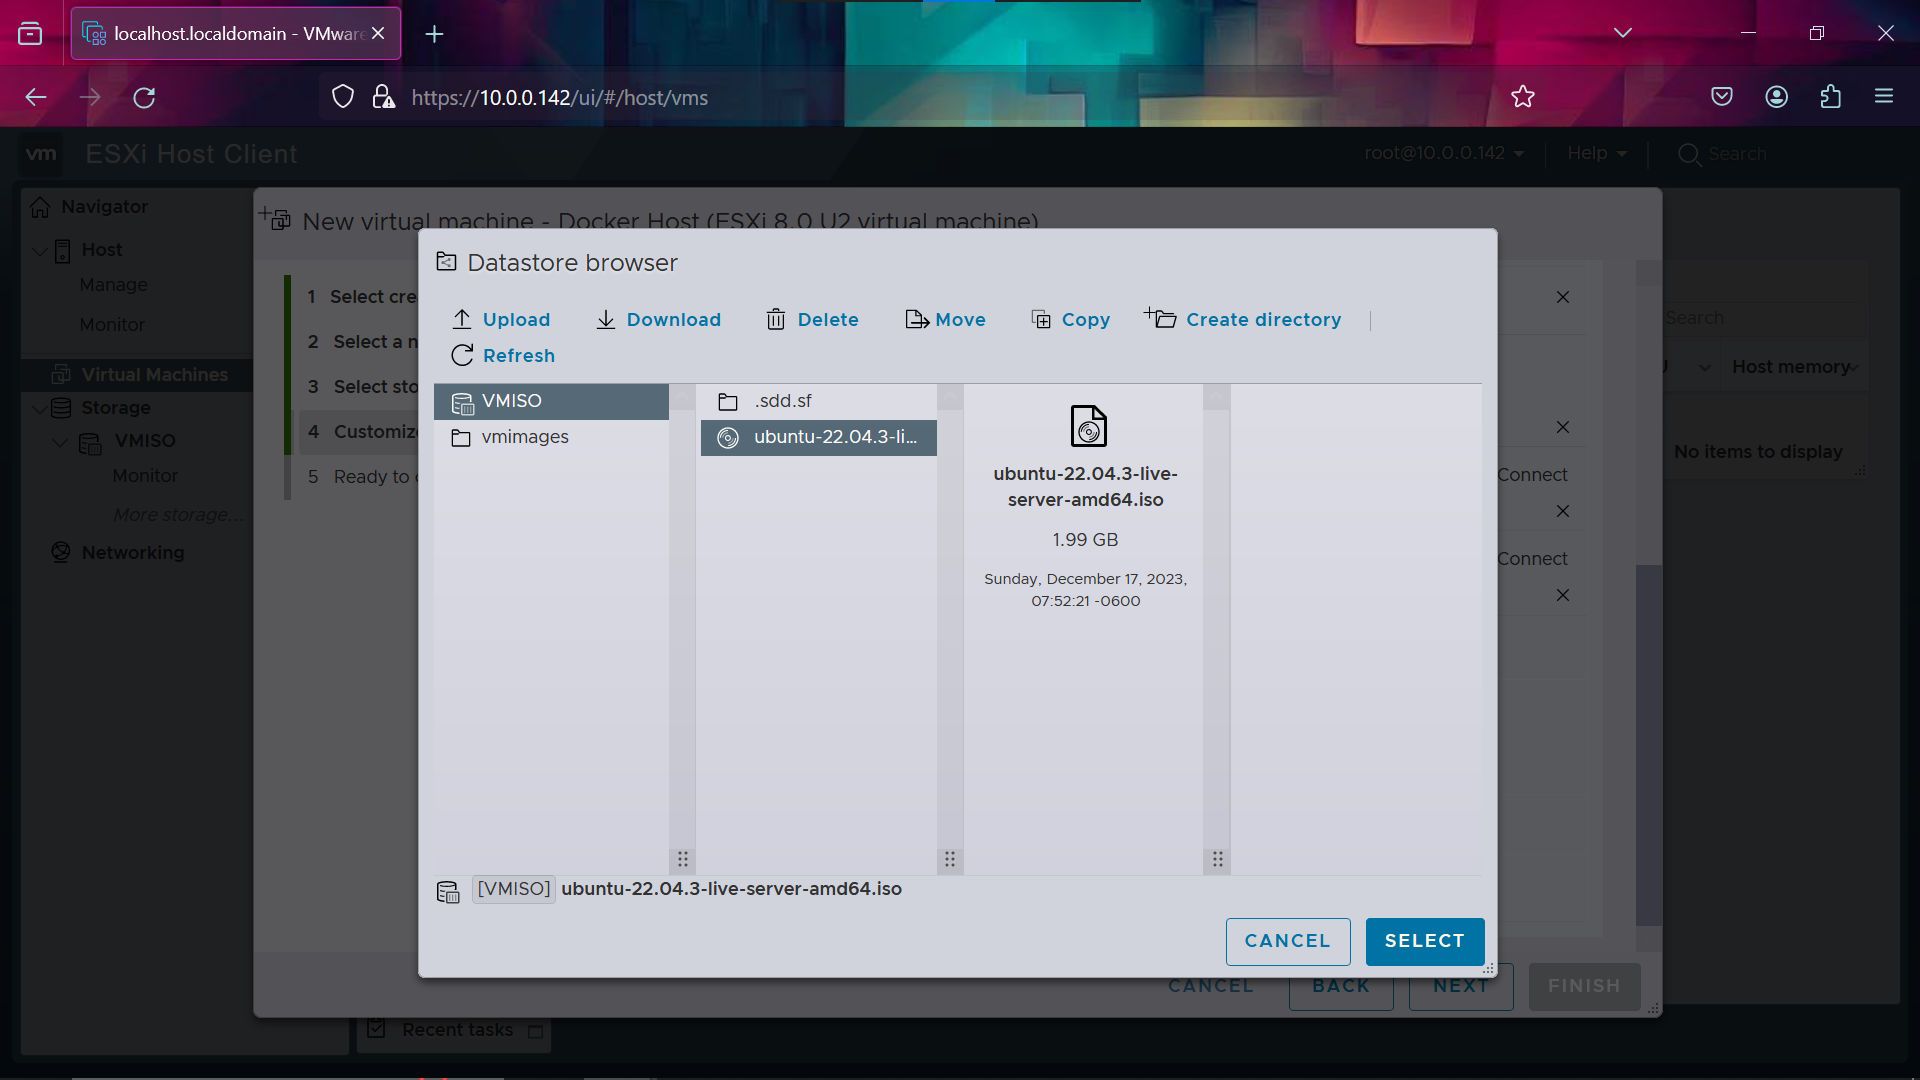
Select the ISO file you uploaded. I’m using Ubuntu Server 22.04.3, any Linux distro should work although I recommend one without a desktop environment because it will use less resources.
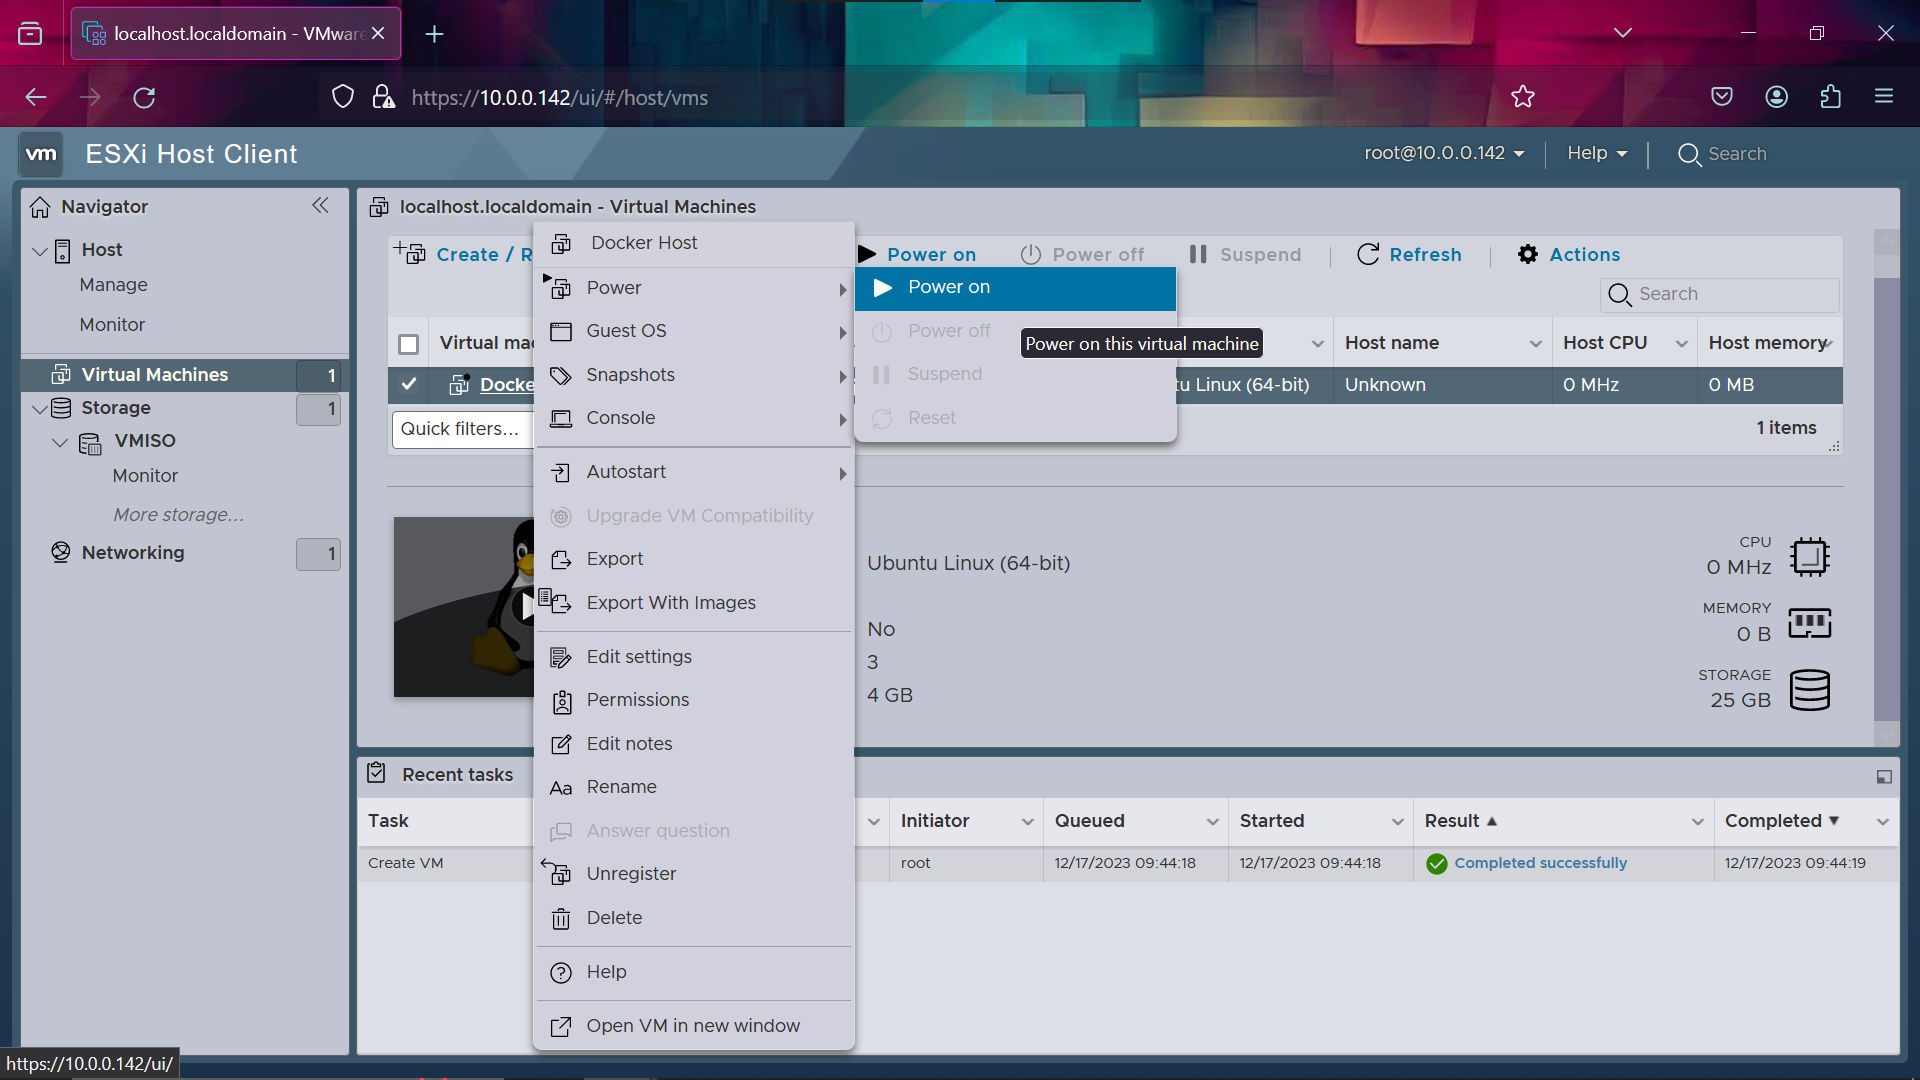
After that hit finish and you should return to the VM menu. Right click on the VM you just created, find the power options, and click Power on.
Installing Ubuntu Server
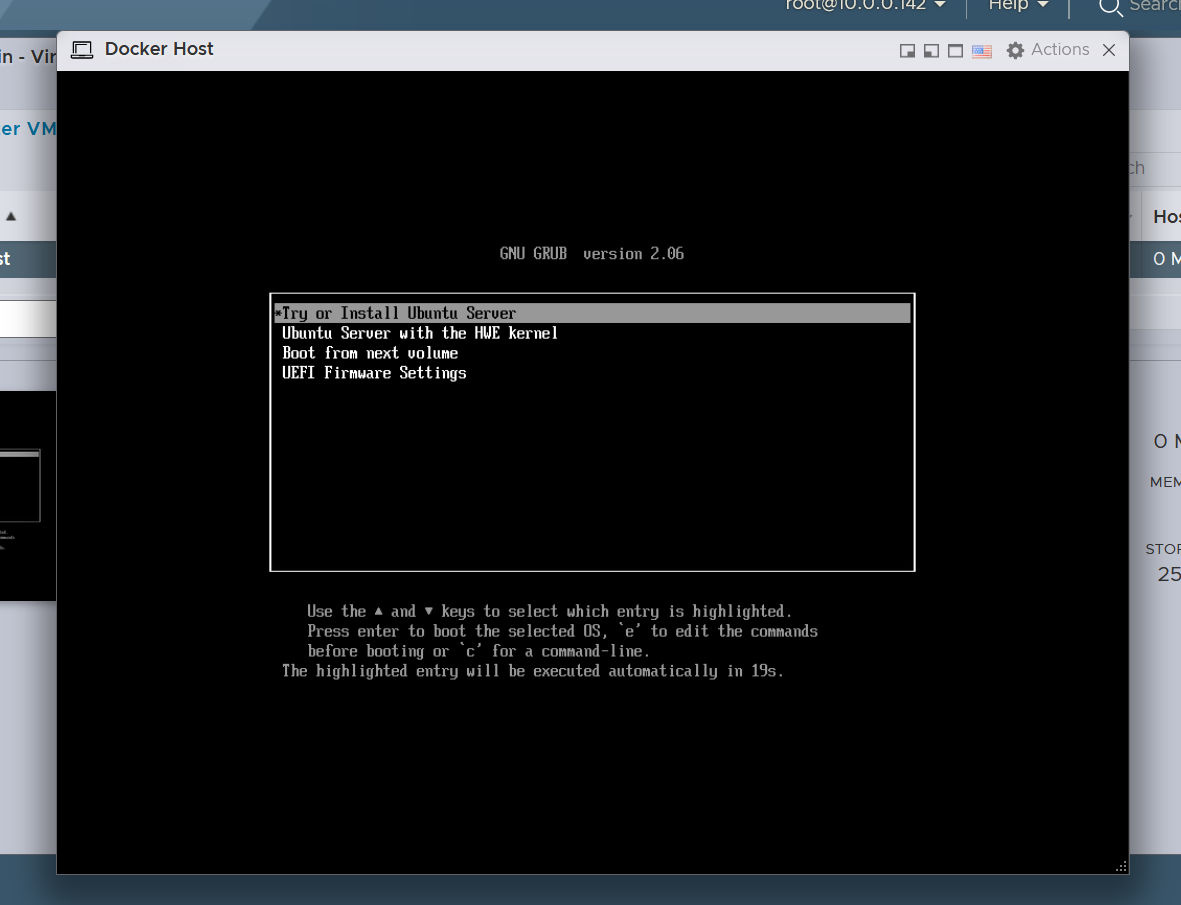
Once your machine is powered on, click on the preview window to pop up a web console for the VM. Use the arrow keys and hit enter to select the Try or Install Ubuntu Server option. If the web console is cut off, zoom out on the web page to fix it.
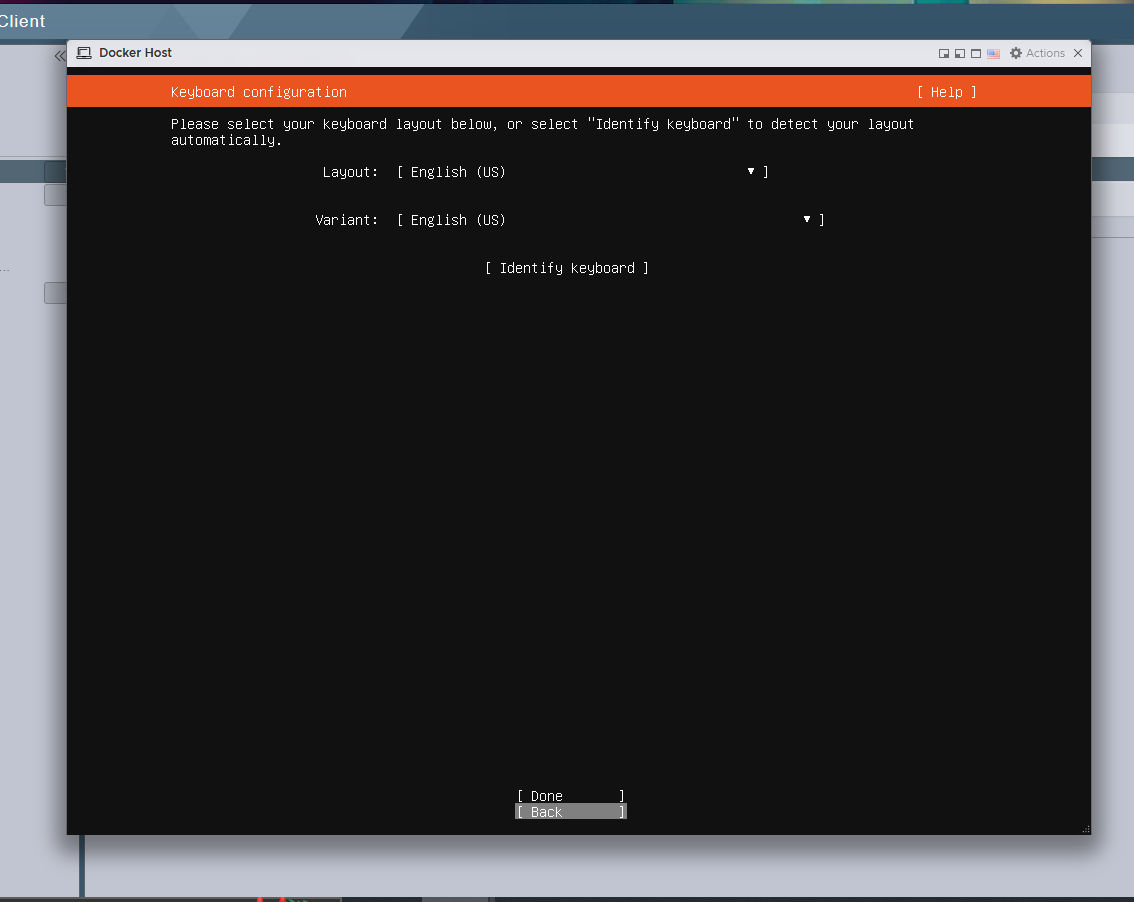
After that, go through the installer and select your language and keyboard layout.
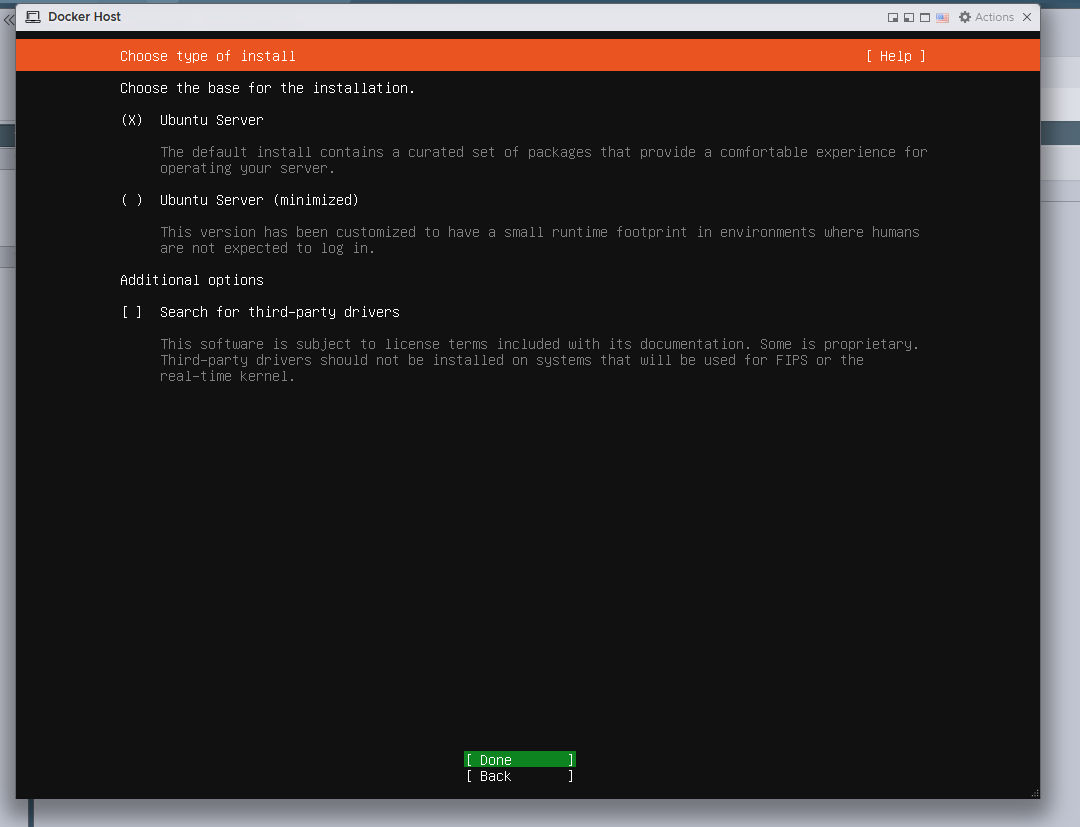
Choose Ubuntu Server as the base of the installation.
Leave the network settings at their defaults.

You can leave the mirror at its default.

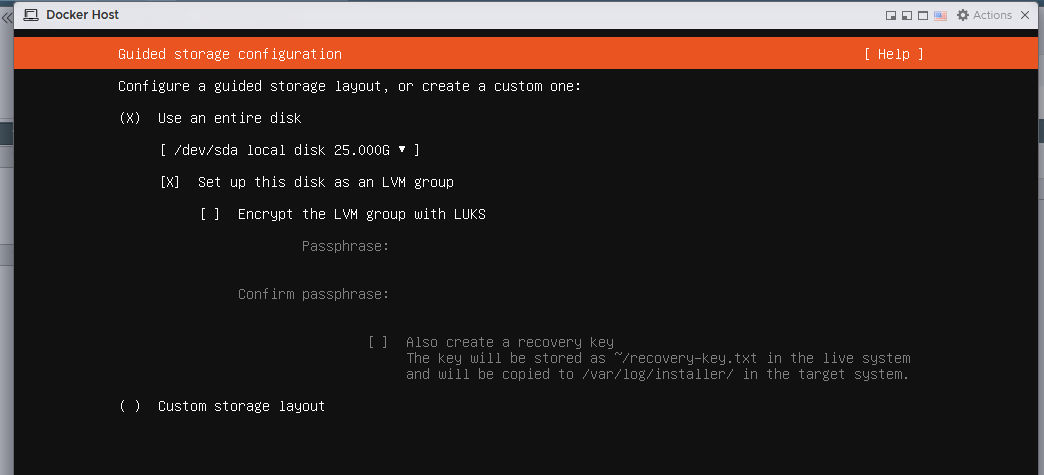
Configure the disk settings like so.
Select Done on the file system summary page. Enter your user credentials.
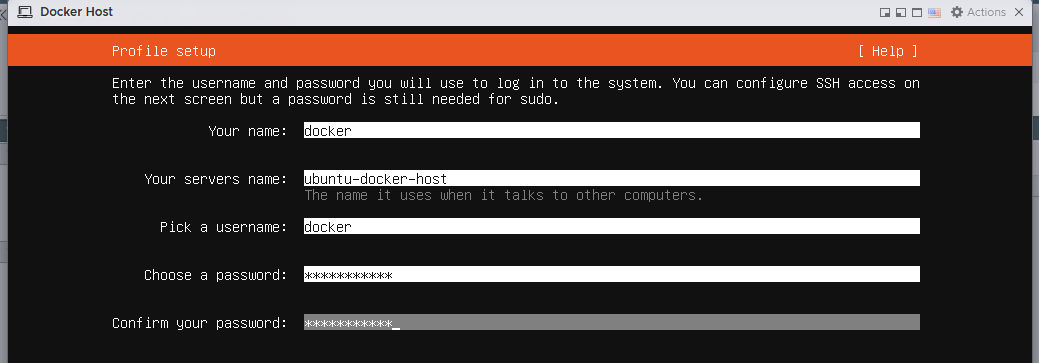
Select install OpenSSH so you can remotely access it later.

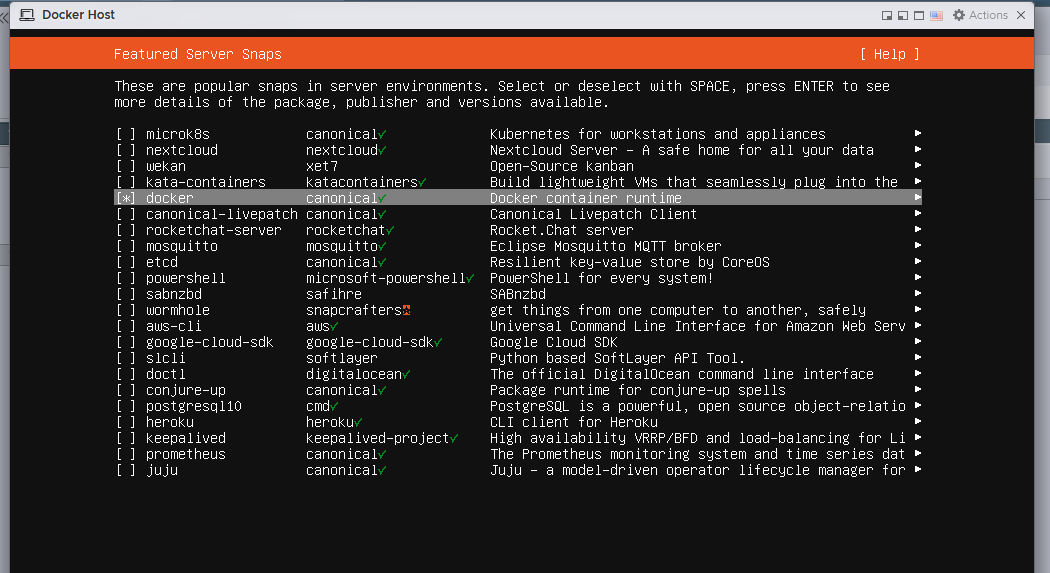
Select the docker package and any others you need. We’ll only need docker for this project.
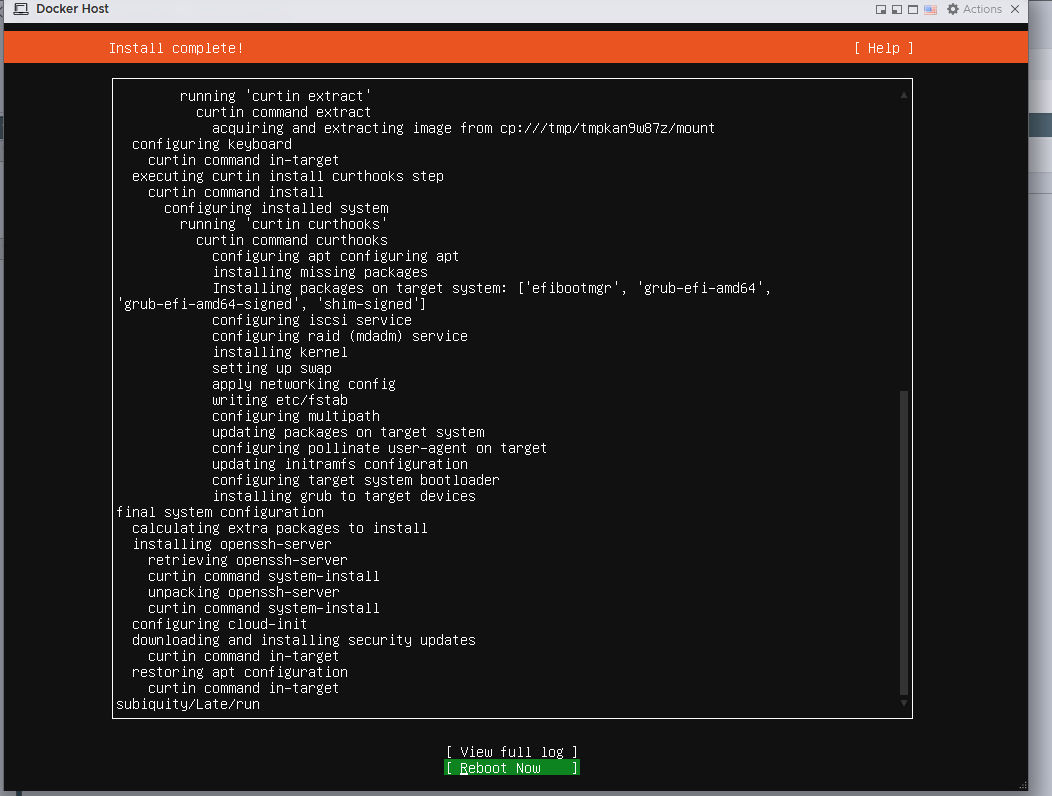
Wait for everything to install and then select reboot now.
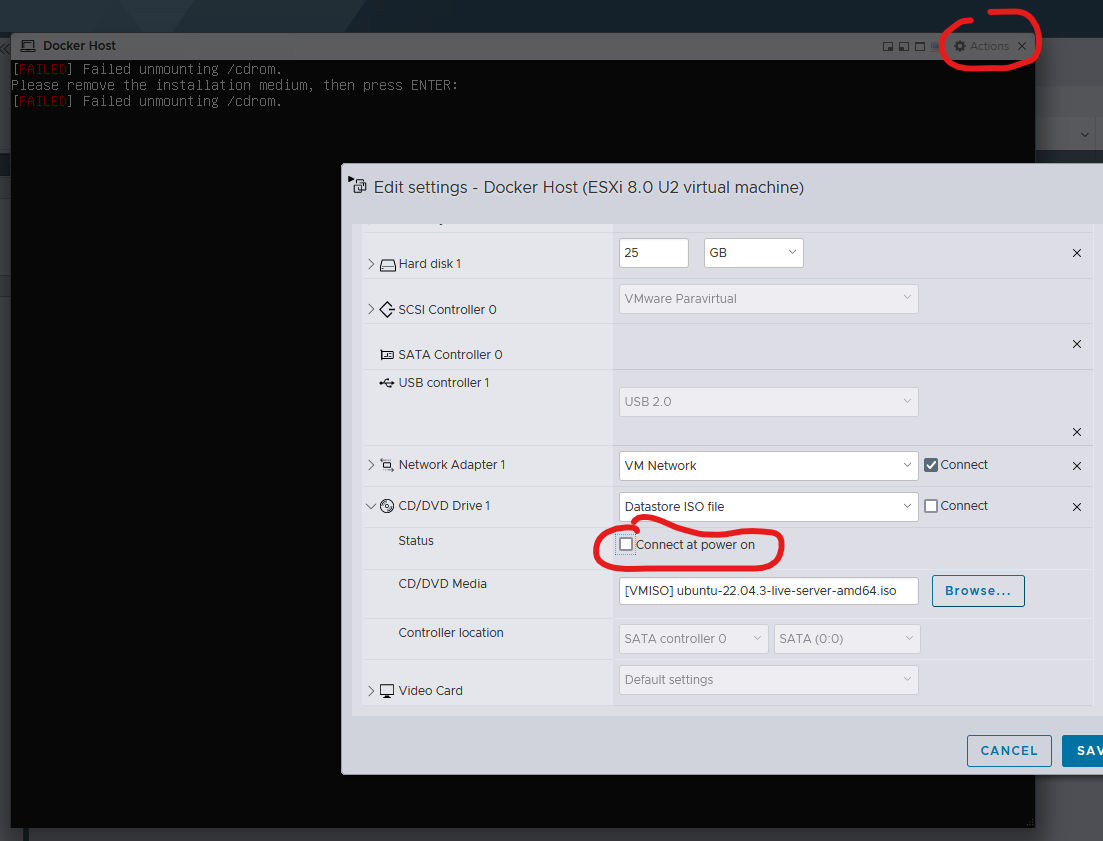
When it tells you to remove the installation medium, click the Actions menu at the top right of the web console, click Edit Settings, and find the CD Drive Settings. Deselect the box next to Connect at power on. Now hit enter in the web console.
After it reboots, wait a few minutes for docker to install and then log in. Update Ubuntu using the command sudo apt update && sudo apt upgrade.

After the command finishes running, shutdown the VM and take a snapshot. Right click the VM, select Snapshots, then select Take snapshot. Give the snapshot a name like Fresh Install and a description if you feel like it.

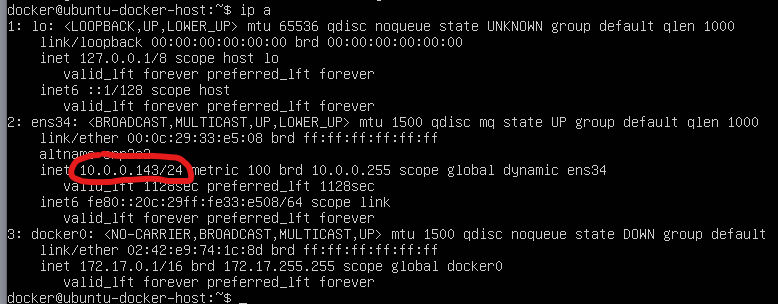
Next, power on the VM again, open the web console, and log in. Run the command ip a and find the IP address of the machine.
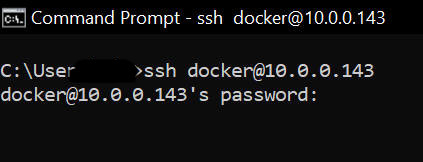
Open Command Prompt or a terminal emulator of your choice and type ssh <your username>@<the VM’s ip> and enter the password.
Installing Portainer and Kubernetes
Install kubectl by running these commands:
curl -LO https://storage.googleapis.com/kubernetes-release/release/$(curl -s https://storage.googleapis.com/kubernetes-release/release/stable.txt)/bin/linux/amd64/kubectl
chmod +x ./kubectl
sudo mv ./kubectl /usr/local/bin/kubectl
kubectl version –client

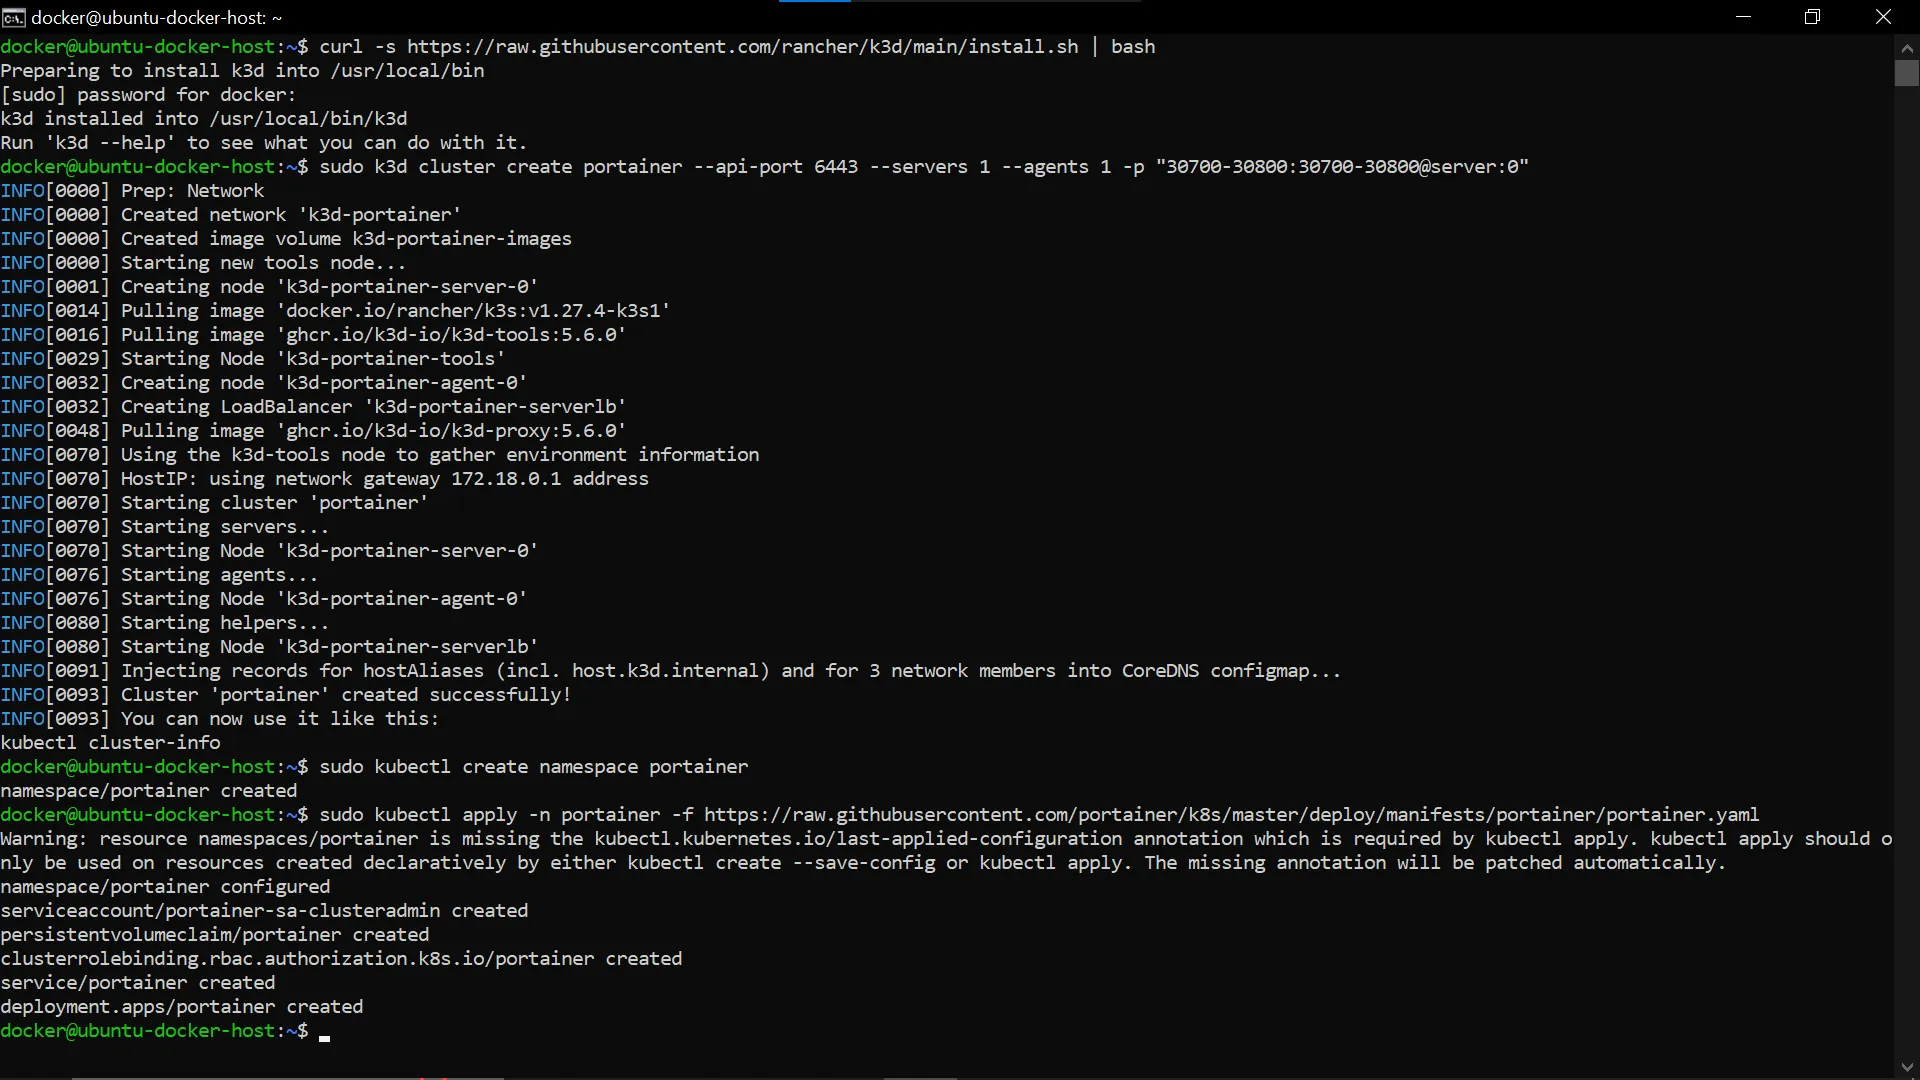
Install k3d and portainer using these commands:
curl -s https://raw.githubusercontent.com/rancher/k3d/main/install.sh | bash
sudo k3d cluster create portainer --api-port 6443 --servers 1 --agents 1 -p "30700-30800:30700-30800@server:0"
sudo kubectl create namespace portainer
sudo kubectl apply -n portainer -f https://raw.githubusercontent.com/portainer/k8s/master/deploy/manifests/portainer/portainer.yaml
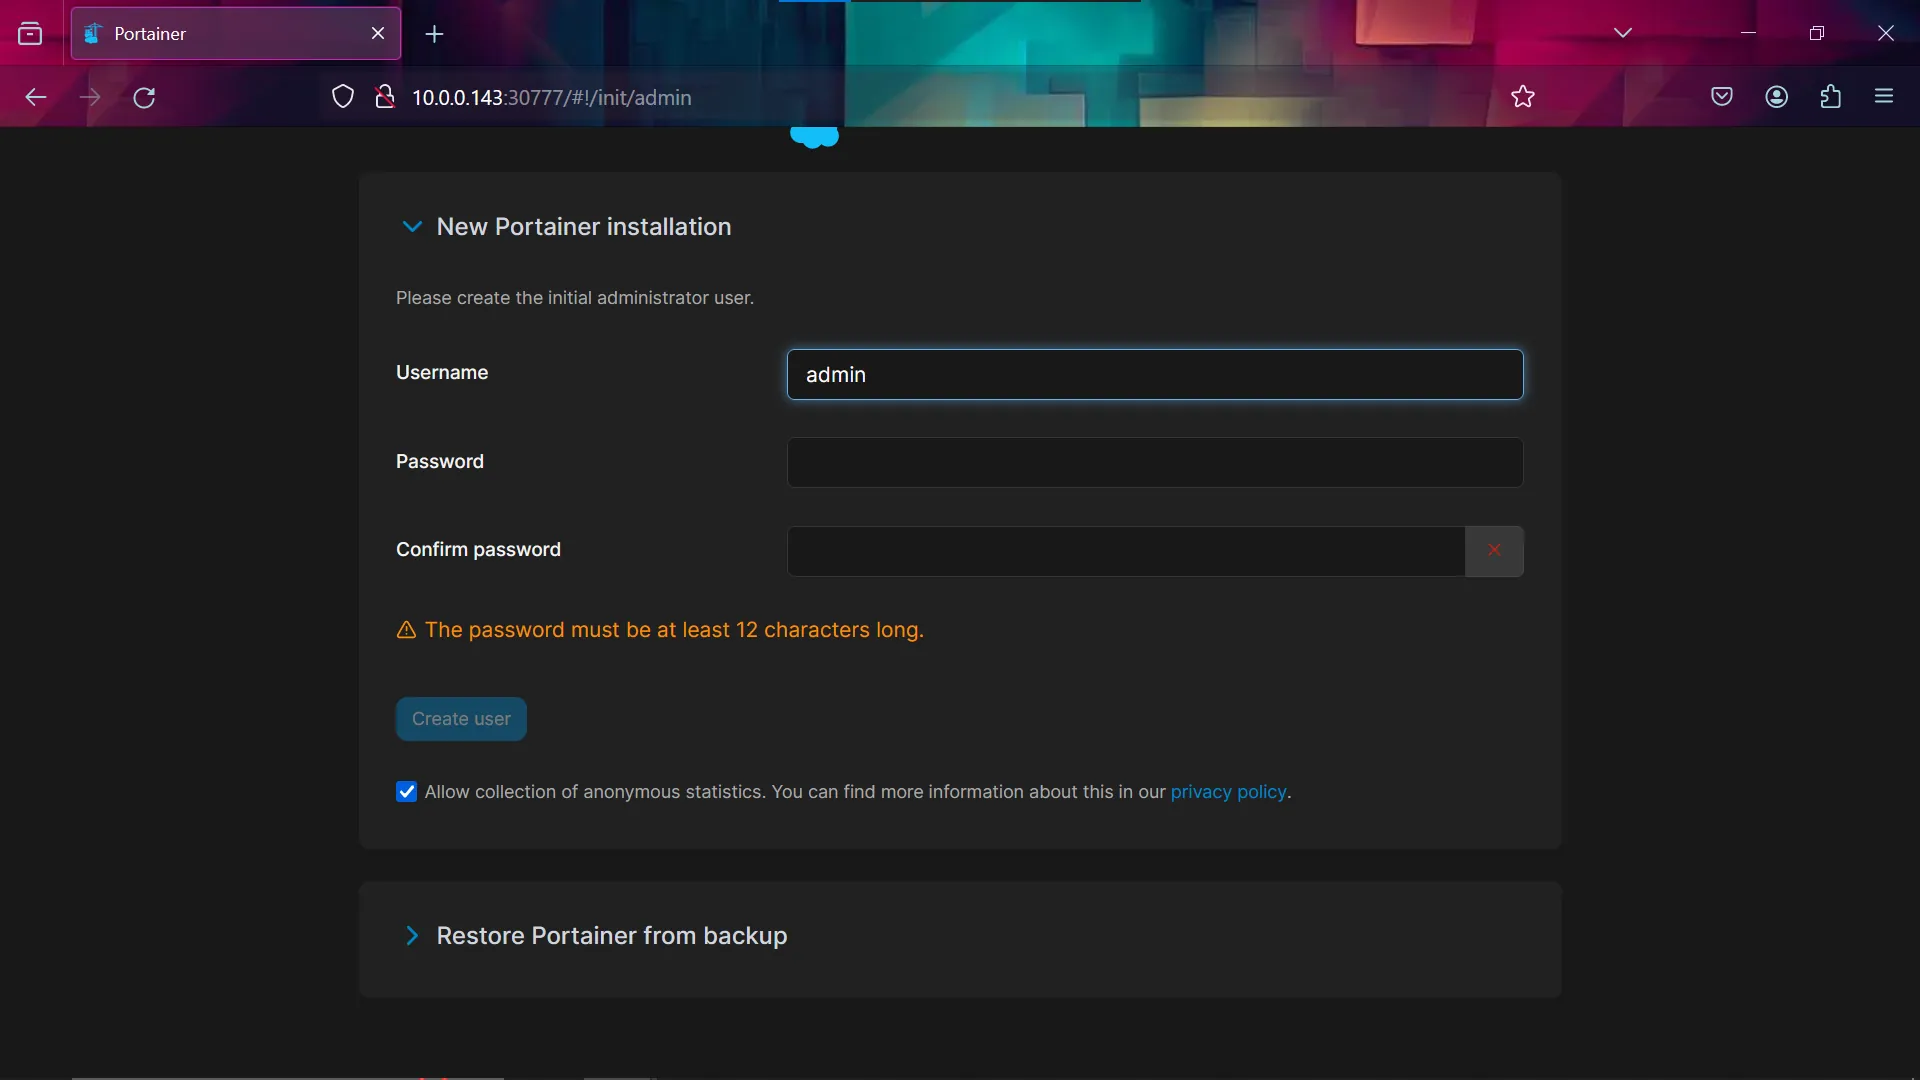
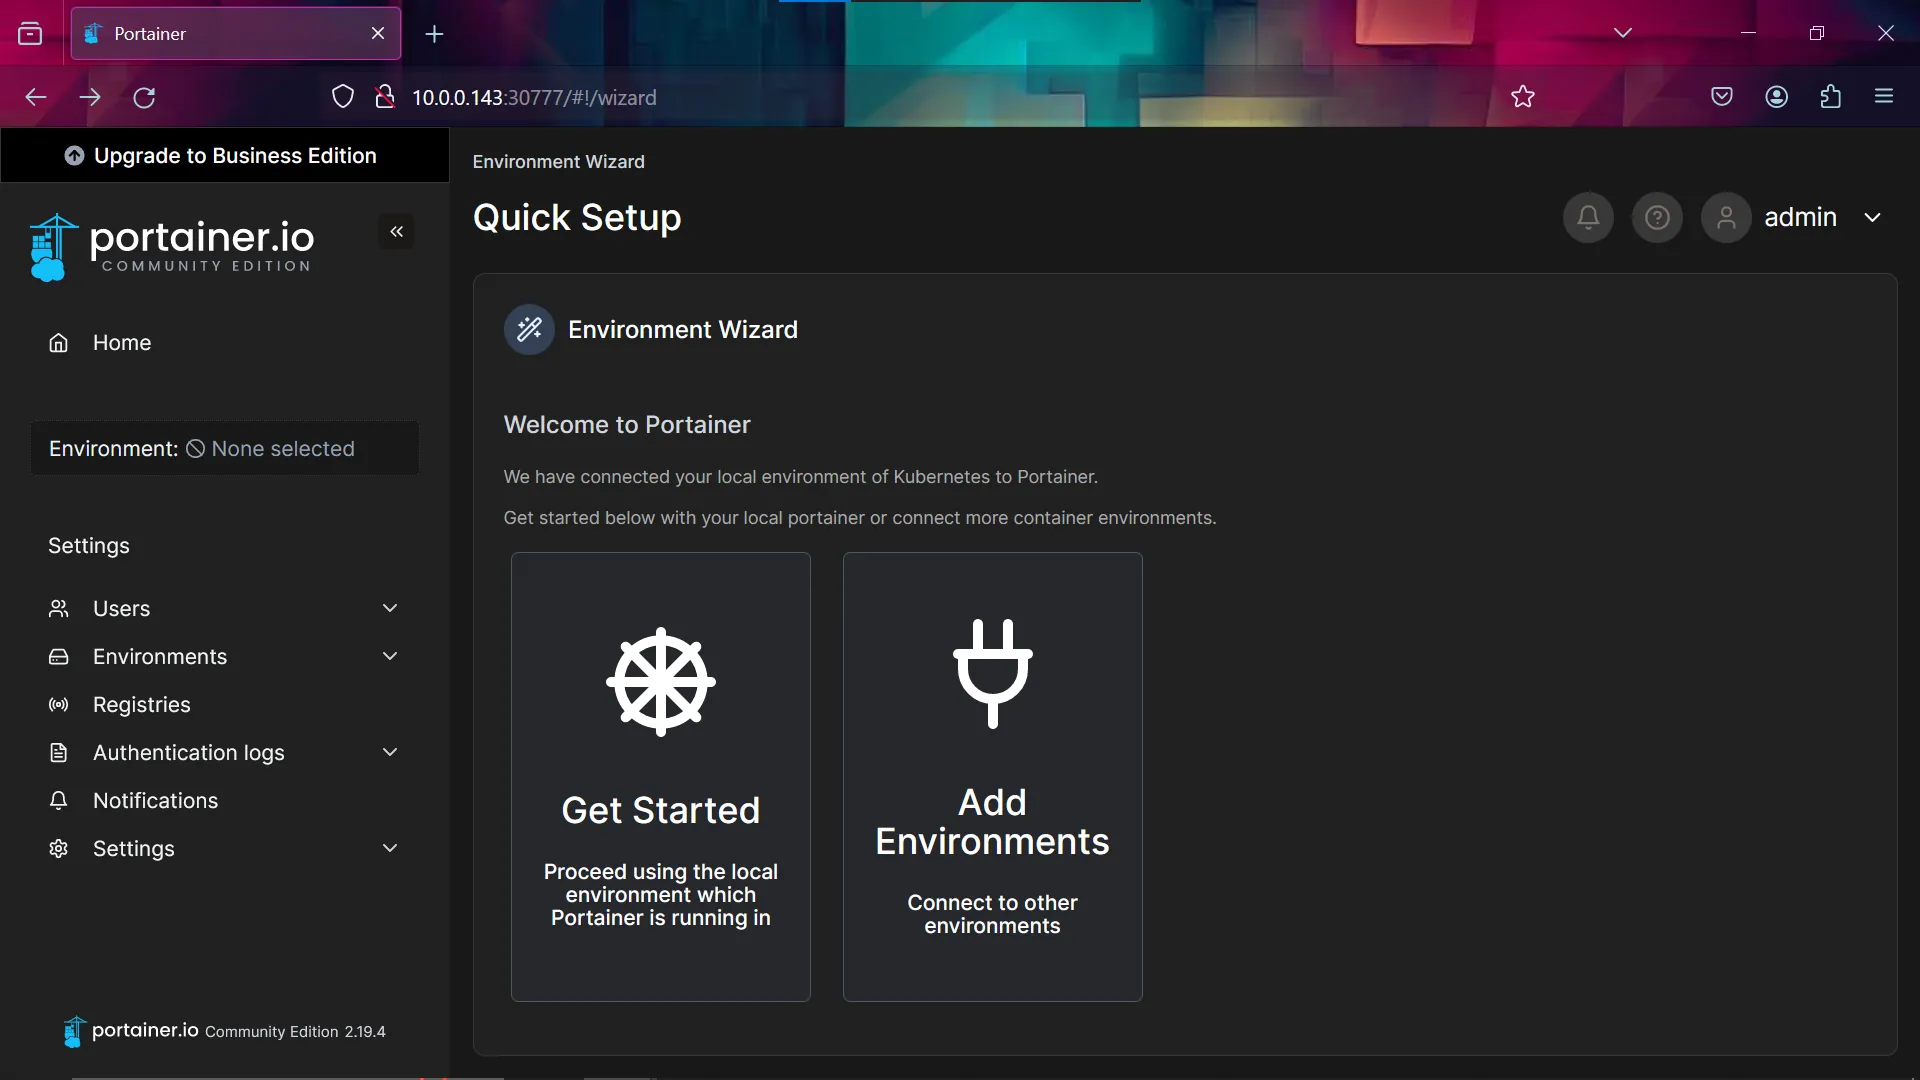
You now have portainer up and running on port 30777 of your server. Open a web browser and go to <server’s ip address>:30777. Create a secure password for your user. You can chose any username you want, I just went with the default admin.
After that you’re all done!
What is Docker and a Container?
Docker is an application used to create, deploy, and ship containers. Docker helps with development and compatibility issues. If it works on your system, you can just ship your system with Docker. Docker uses containers to do this. Containers are an application packaged up with the operating system and all of its dependencies. Containers are kind of like virtual machines except docker communicates directly with the operating system’s kernel, reducing a lot of overhead. This means that containers just virtualize the operating system the application is running on instead of all of the hardware like a virtual machine. Containers are usually a lot lighter weight because docker can share files between them. However, containers are usually a little less secure than virtual machines because they are not fully isolated from the host system.
What is Kubernetes?
Kubernetes is a container orchestration framework that was developed by Google and is now open source. Kubernetes automates, deploying and scaling containers. You can use it to manage clusters which are made up of nodes which in turn are made up of groups of containers called pods. Kubernetes manages these clusters to optimize resource usage.